Introduction
Import custom targets for Targeted Actions in bulk to quickly create large sets of custom targets. The process of importing custom targets is very similar to importing supporters.
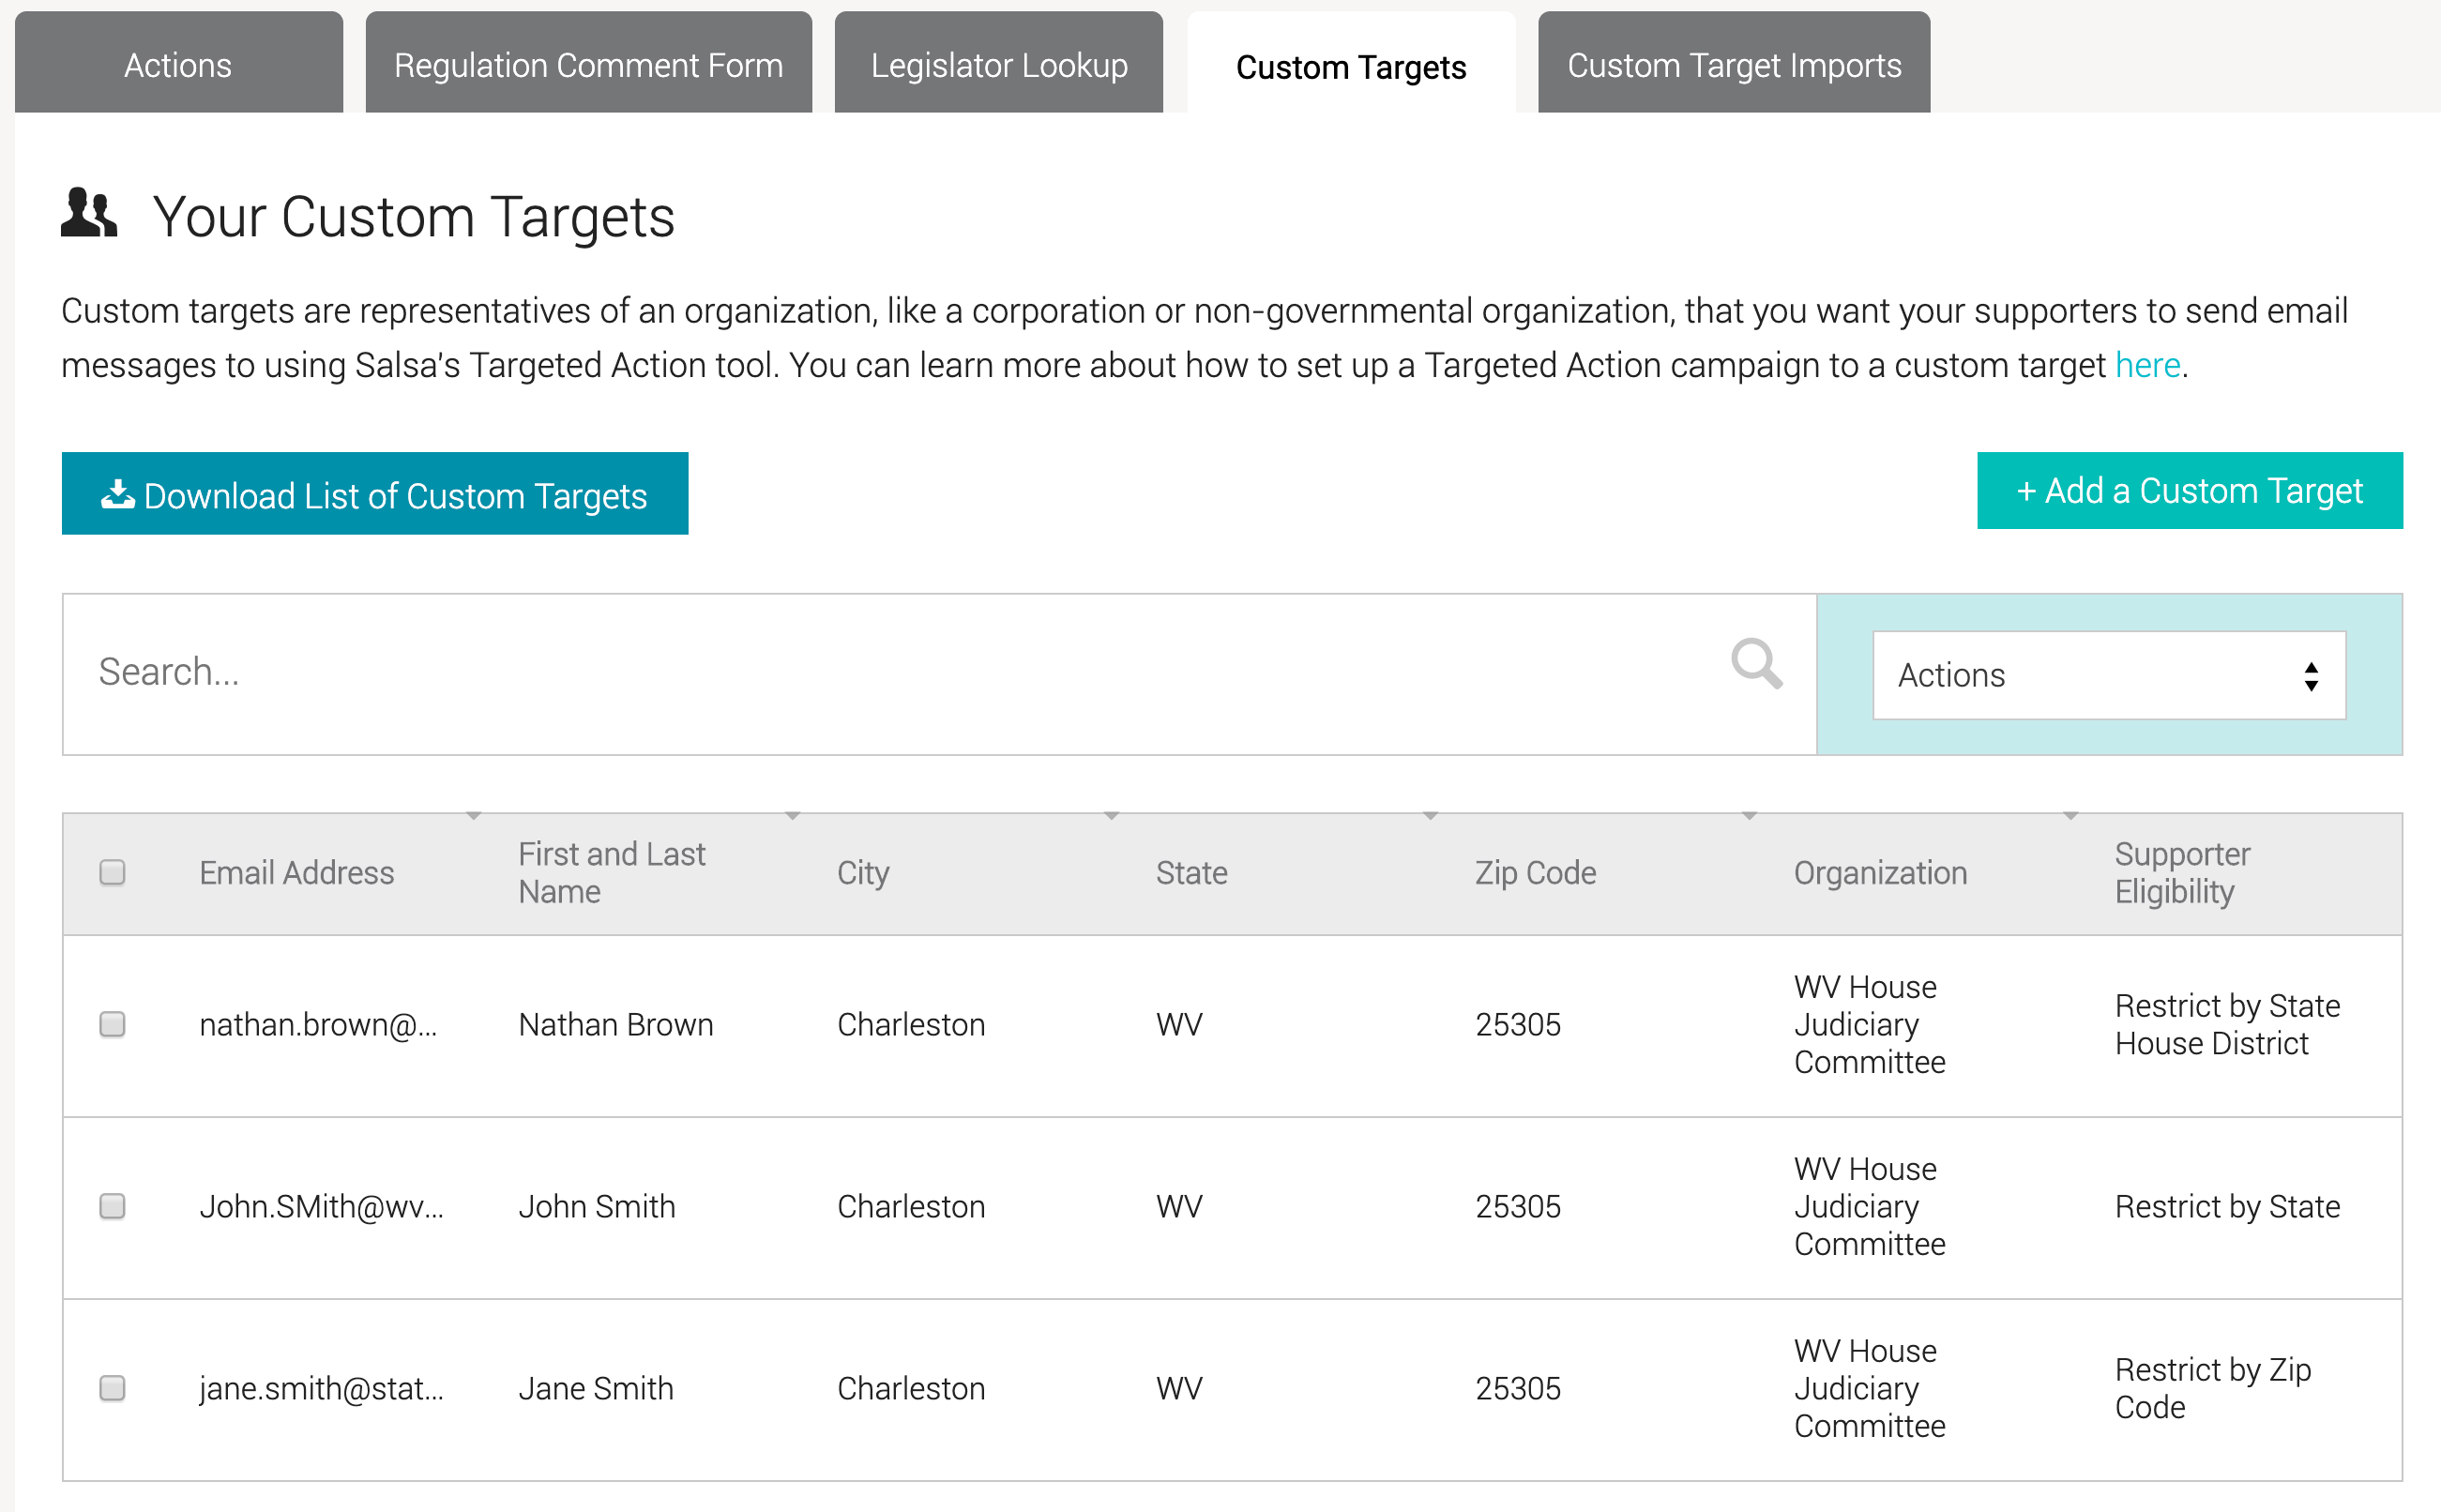
Step 1: Prepare Your Import
The first thing you need to do is to create the custom targets data file that you will upload into Engage. You can do this using any number of spreadsheet programs, such as OpenOffice or Microsoft Excel.
The following table lists all of the fields that you can use in your custom targets data file. The Field Name represents the first cell in a column of data and resides in the first row of your data. The values you import will be in the subsequent rows of your table.
Your file must be formatted as a tab-separated value file (saved as a .tsv or .txt filetype), also known as a tab-delimited file. (Note, this file format is different from the .csv format needed for importing supporters.) You can find instructions for creating this file later in this article.
Data Fields
Following are the fields that you can use in the custom targets data file that you will upload into Engage.
| Field Name | Data Type | Required? | Displays on public action page? | Notes |
| Engage UUID | Text | No | No | The UUID generated by Engage for the target. Including an existing ID will update the target. Leaving either ID field blank will create a new Custom Target record. |
| External Target ID | Integer | No | No | An external ID for the target. Including an existing ID will update the target. Leaving either ID field blank will create a new Custom Target record. |
| Category | Enum | Yes | No | Must be one of: Business, Education, Media, Political, Other. |
| Title | Text | No | Yes | For example, Mr., Mrs., Dr., Superintendent. |
| Letter Salutation | Text | No | No | Add a letter salutation that will replace the built-in structure of "Dear [Title] [First Name] [Last Name],". For example, instead of the standard 'Dear Mr. John Smith,' you can add 'Dear Mr. Smith,' or 'Dear Manager of Corporate Marketing,'. |
| Full Name | Text | Yes | Yes | Full name of the custom target. |
| Email Address | Text | Yes | No | Must be in a valid email format. |
| Office Title | Text | No | Yes | A title that will display under the custom target's name in the target list. |
| Organization | Text | No | Yes | An organization name that will display under the custom target's name and office title in the target list. This name will be searchable in the target list. |
| City | Text | No | No | City name for the target. |
| State/Province/Region | Text | No | No | Two-letter Abbreviation. |
| ZIP/Postal Code | Text | No | No | ZIP or Postal Code for the target. |
| Phone Number | Text | No | No* | Phone number to display on the public action page. (*Future development item.) |
| Twitter Handle | Text | No | No | Twitter handle, such as '@billgates' or 'billgates' |
| Do Not Send Phone | True/False | No | No | If blank, then False; supporter phone number will be sent in message. |
| Do Not Send Address | True/False | No | No | If blank, then False; supporter address will be sent in message. |
| Restriction Type | Enum | No | No |
If not blank, must be one of:
|
| Restrictions | Text | No* | No | Required if restriction type is not blank. Either district code or comma-separated ZIP list. |
A. Scrub Your Data
Data cleaning is the process of recognizing and correcting or removing inaccurate or irrelevant records from your table. Once your file contains all the records you wish to import, make sure to scrub your data before saving for the final time, to remove any extraneous or unuseful items from your list.
- Get rid of extra spaces.
- Make sure all blank cells are really blank.
- Convert numbers stored as text into numbers.
- Remove duplicates.
- Change text to Lower/Upper/Proper Case.
- Spell check.
- Delete all formatting. For example, remove line breaks from all fields. You can use the CLEAN function in Microsoft Excel to easily remove them, for example.
B. Create Your Tab Delimited File
Once you have saved your file for the final time, save it as a tab-separated-value (.tsv) file. To create a tab-delimited text file from your spreadsheet (using Excel as an example)...
- Choose the Save As option.

-
Click on Format.
-
Select Text (Tab delimited) (.txt) from the dropdown list.
NOTE: Never import an Excel (.xls) or any other file type than a tab-delimited file as that will cause your data to be corrupted, and will result in many errors.
Step 2: Import Your File
A. Import Custom Targets
- Click the Activities section on the left.
- Click the Targeted Actions tab at the top of the page.
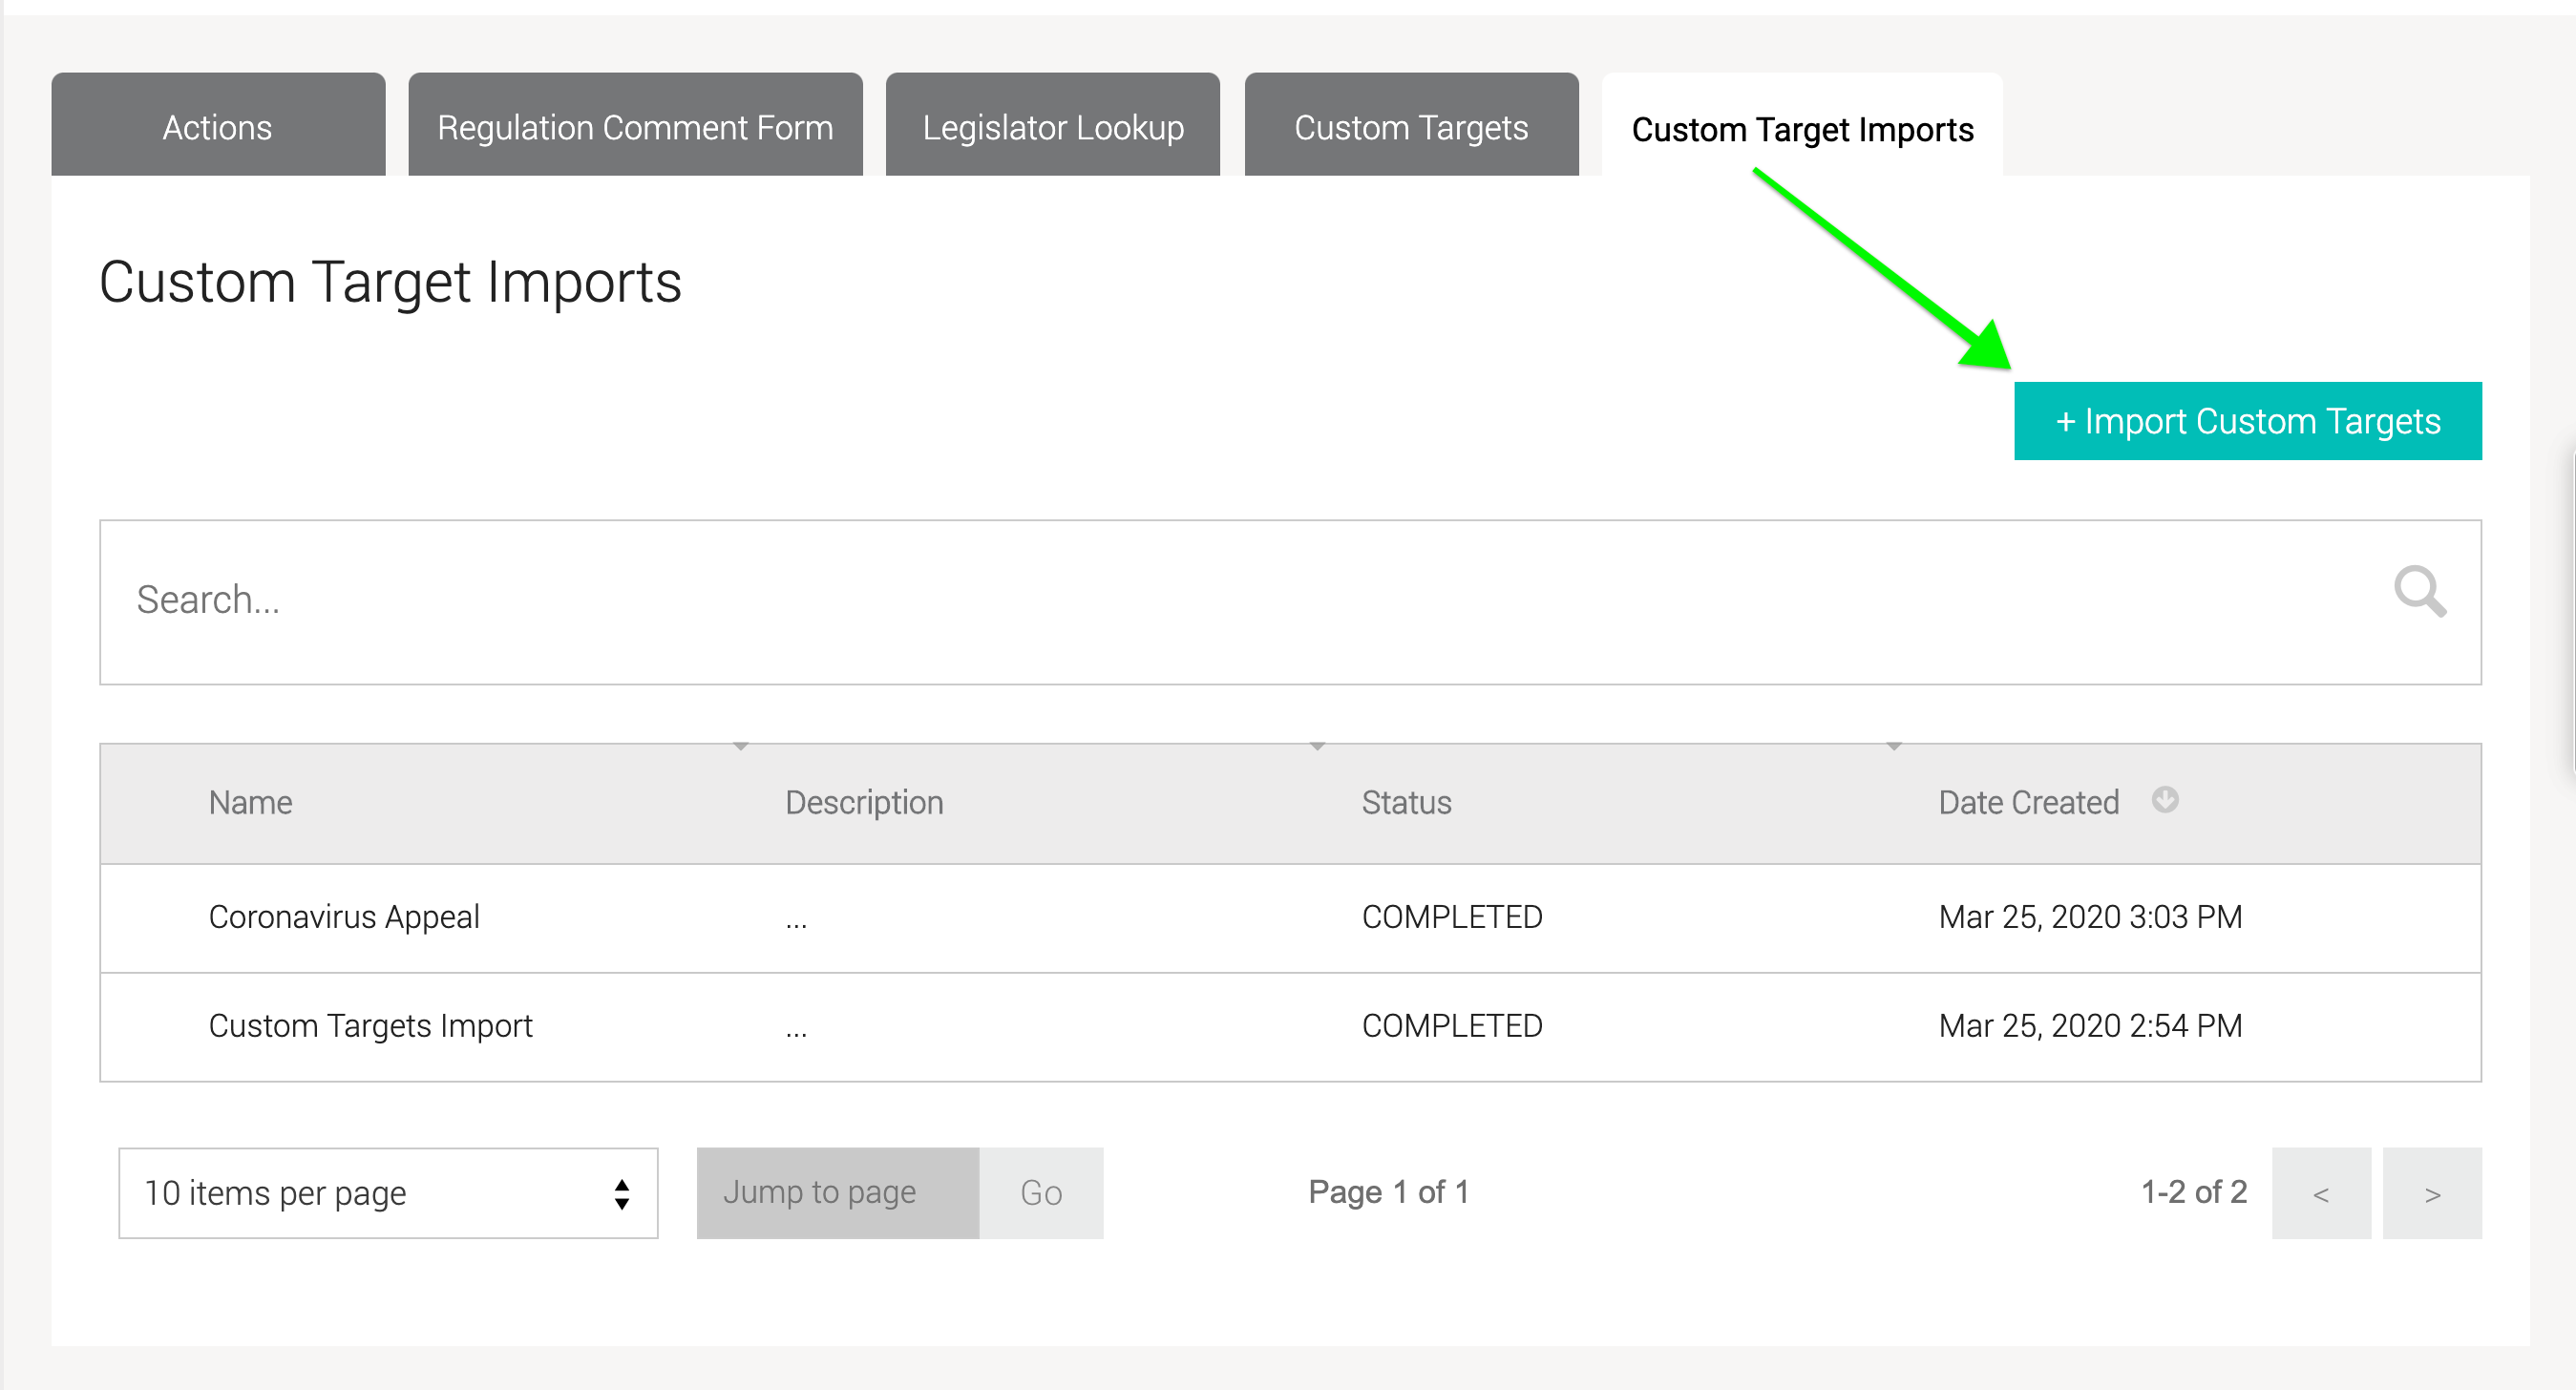
- Under the Targeted Action Insight section, click on the Custom Target Imports tab. This page will list your current and completed imports.
- Create a new import so you can add supporters to your list by clicking on the Import Custom Targets button to the right.
B. Describe Your Import In Engage and Select Your Data File
- Fill out the following fields:
- Name this [activity] form—Feel free to use any name that will help you and other campaign managers to internally differentiate this import from all of the other imports. This field is required.
- Add a description—This information isn’t required but can be helpful in the future for distinguishing between imports. This description is only used internally.
- Click the Browse for File button. If the button is grey, that means you've not yet given the import a name. Once you do, the button turns blue. If you get an error message, go back to your file and correct any errors. If you need help, remember you can submit a support request via the ? icon in the upper right-hand corner.
- If the file progress bar shows a Done! message, you can select the Next: Import Settings button in the lower right-hand corner of the window.

- You can choose a different file if you picked the wrong one. The Browse for File button changes to an Upload a different file button, as shown above.
C. Match Custom Fields to Engage Fields
When matching supporter fields, start by selecting the row in your imported file on which "real" data actually begins. Usually, your imported file will have a header row, and the "real" data begins on row 2.
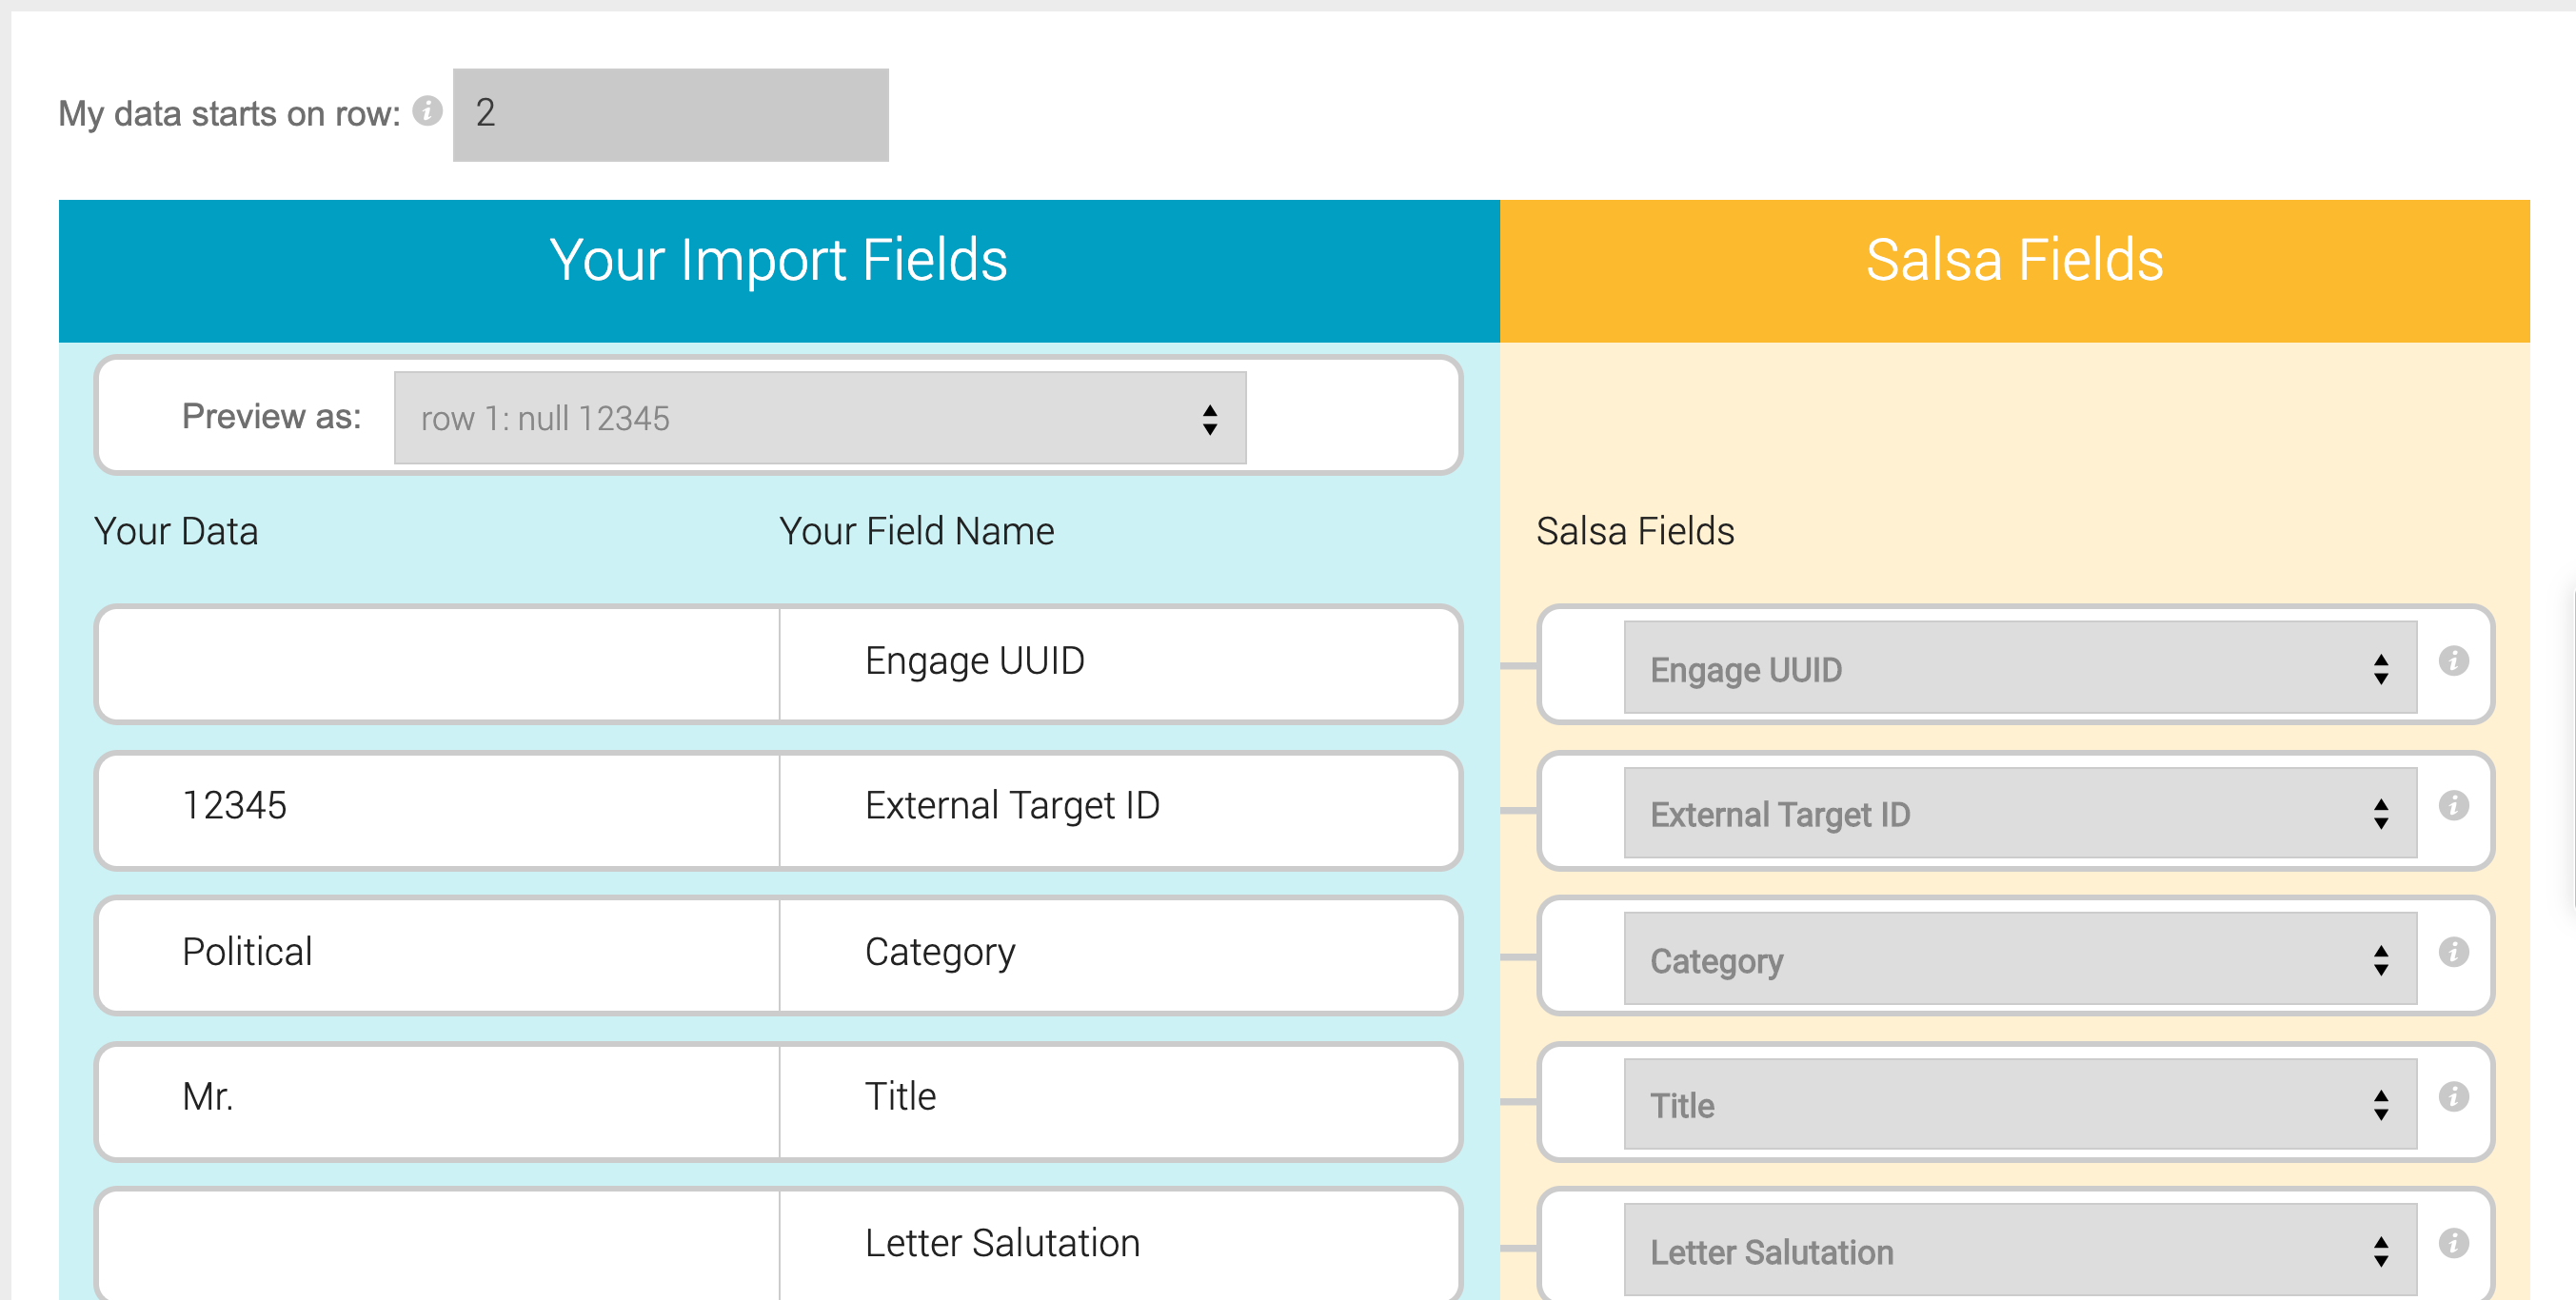
The column contents and names from your spreadsheet are on the left and field names are on the right. Select the field names where your spreadsheet information should go in the yellow Salsa Fields section on the right.
Most of the time, Salsa can match your column headers automatically, but you can use the pulldown menus to match to the appropriate fields if they don't match. If you do not wish to import a particular column, simply select Do not Import.
Once you're done matching your fields, click the Next: Import Settings button.
Step 3: Configure Import: Find Duplicates
There's always a chance that your import file will contain custom targets already within your list of custom targets.
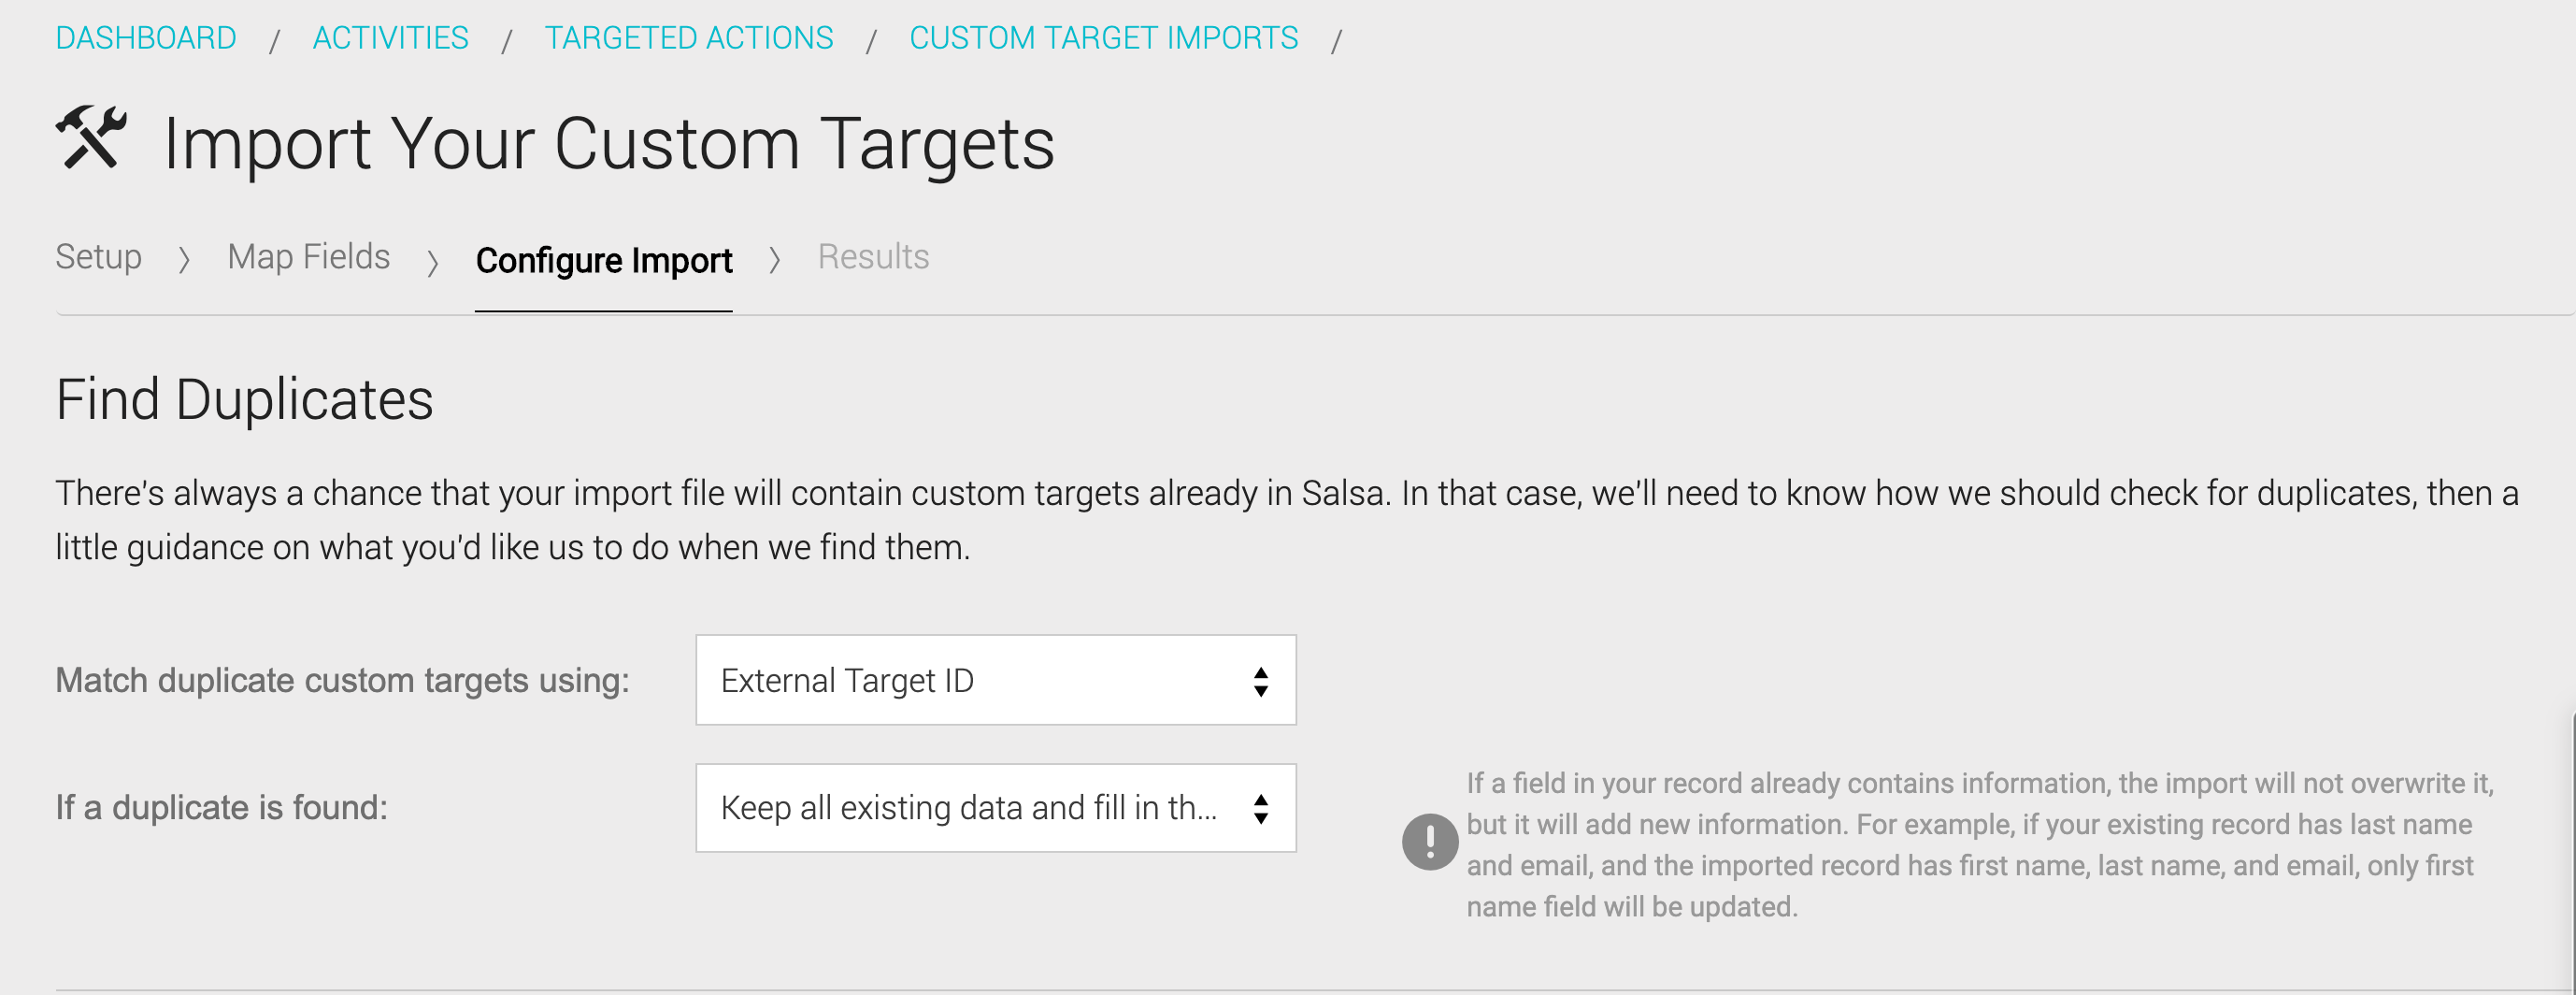
By default, Salsa looks at the Engage UUID field to identify any duplicate records. When this field is selected, Salsa will cross-reference the values in your spreadsheet with the unique UUID of existing targets in your account. If you're importing the same UUID as a supporter that already exists in your database, they will be identified as duplicates. We recommend Engage UUID, but you may choose External Target ID instead to identify duplicates for this import.
When duplicates are found, you'll have the following options:
- Overwrite with new data—This is the default setting. The data in your spreadsheet will overwrite existing data, if it conflicts with existing data in your database. NOTE: If you upload blank fields, you could overwrite existing data. For example, if your current record has first name, last name, and email, and the record you are importing has a blank first name, last name, and email, you will lose the first name information.
- Keep existing, but append if blank—The data in your database will not be overwritten, if it conflicts with new data in your spreadsheet. Blank database fields will be updated with spreadsheet data.
Click the I'm Done button in the lower left-hand corner, and the import will either begin immediately or be submitted to the queue to import at the selected time.
Step 4: Import Results
After you submit your file for import, there may be some wait time before the import is complete (especially if the file you're importing is large). You'll receive a notification when the import is complete. Click on the link in the notification to open the import.
You can also click anywhere in your import's row (within the import listing) to open the import.
Results
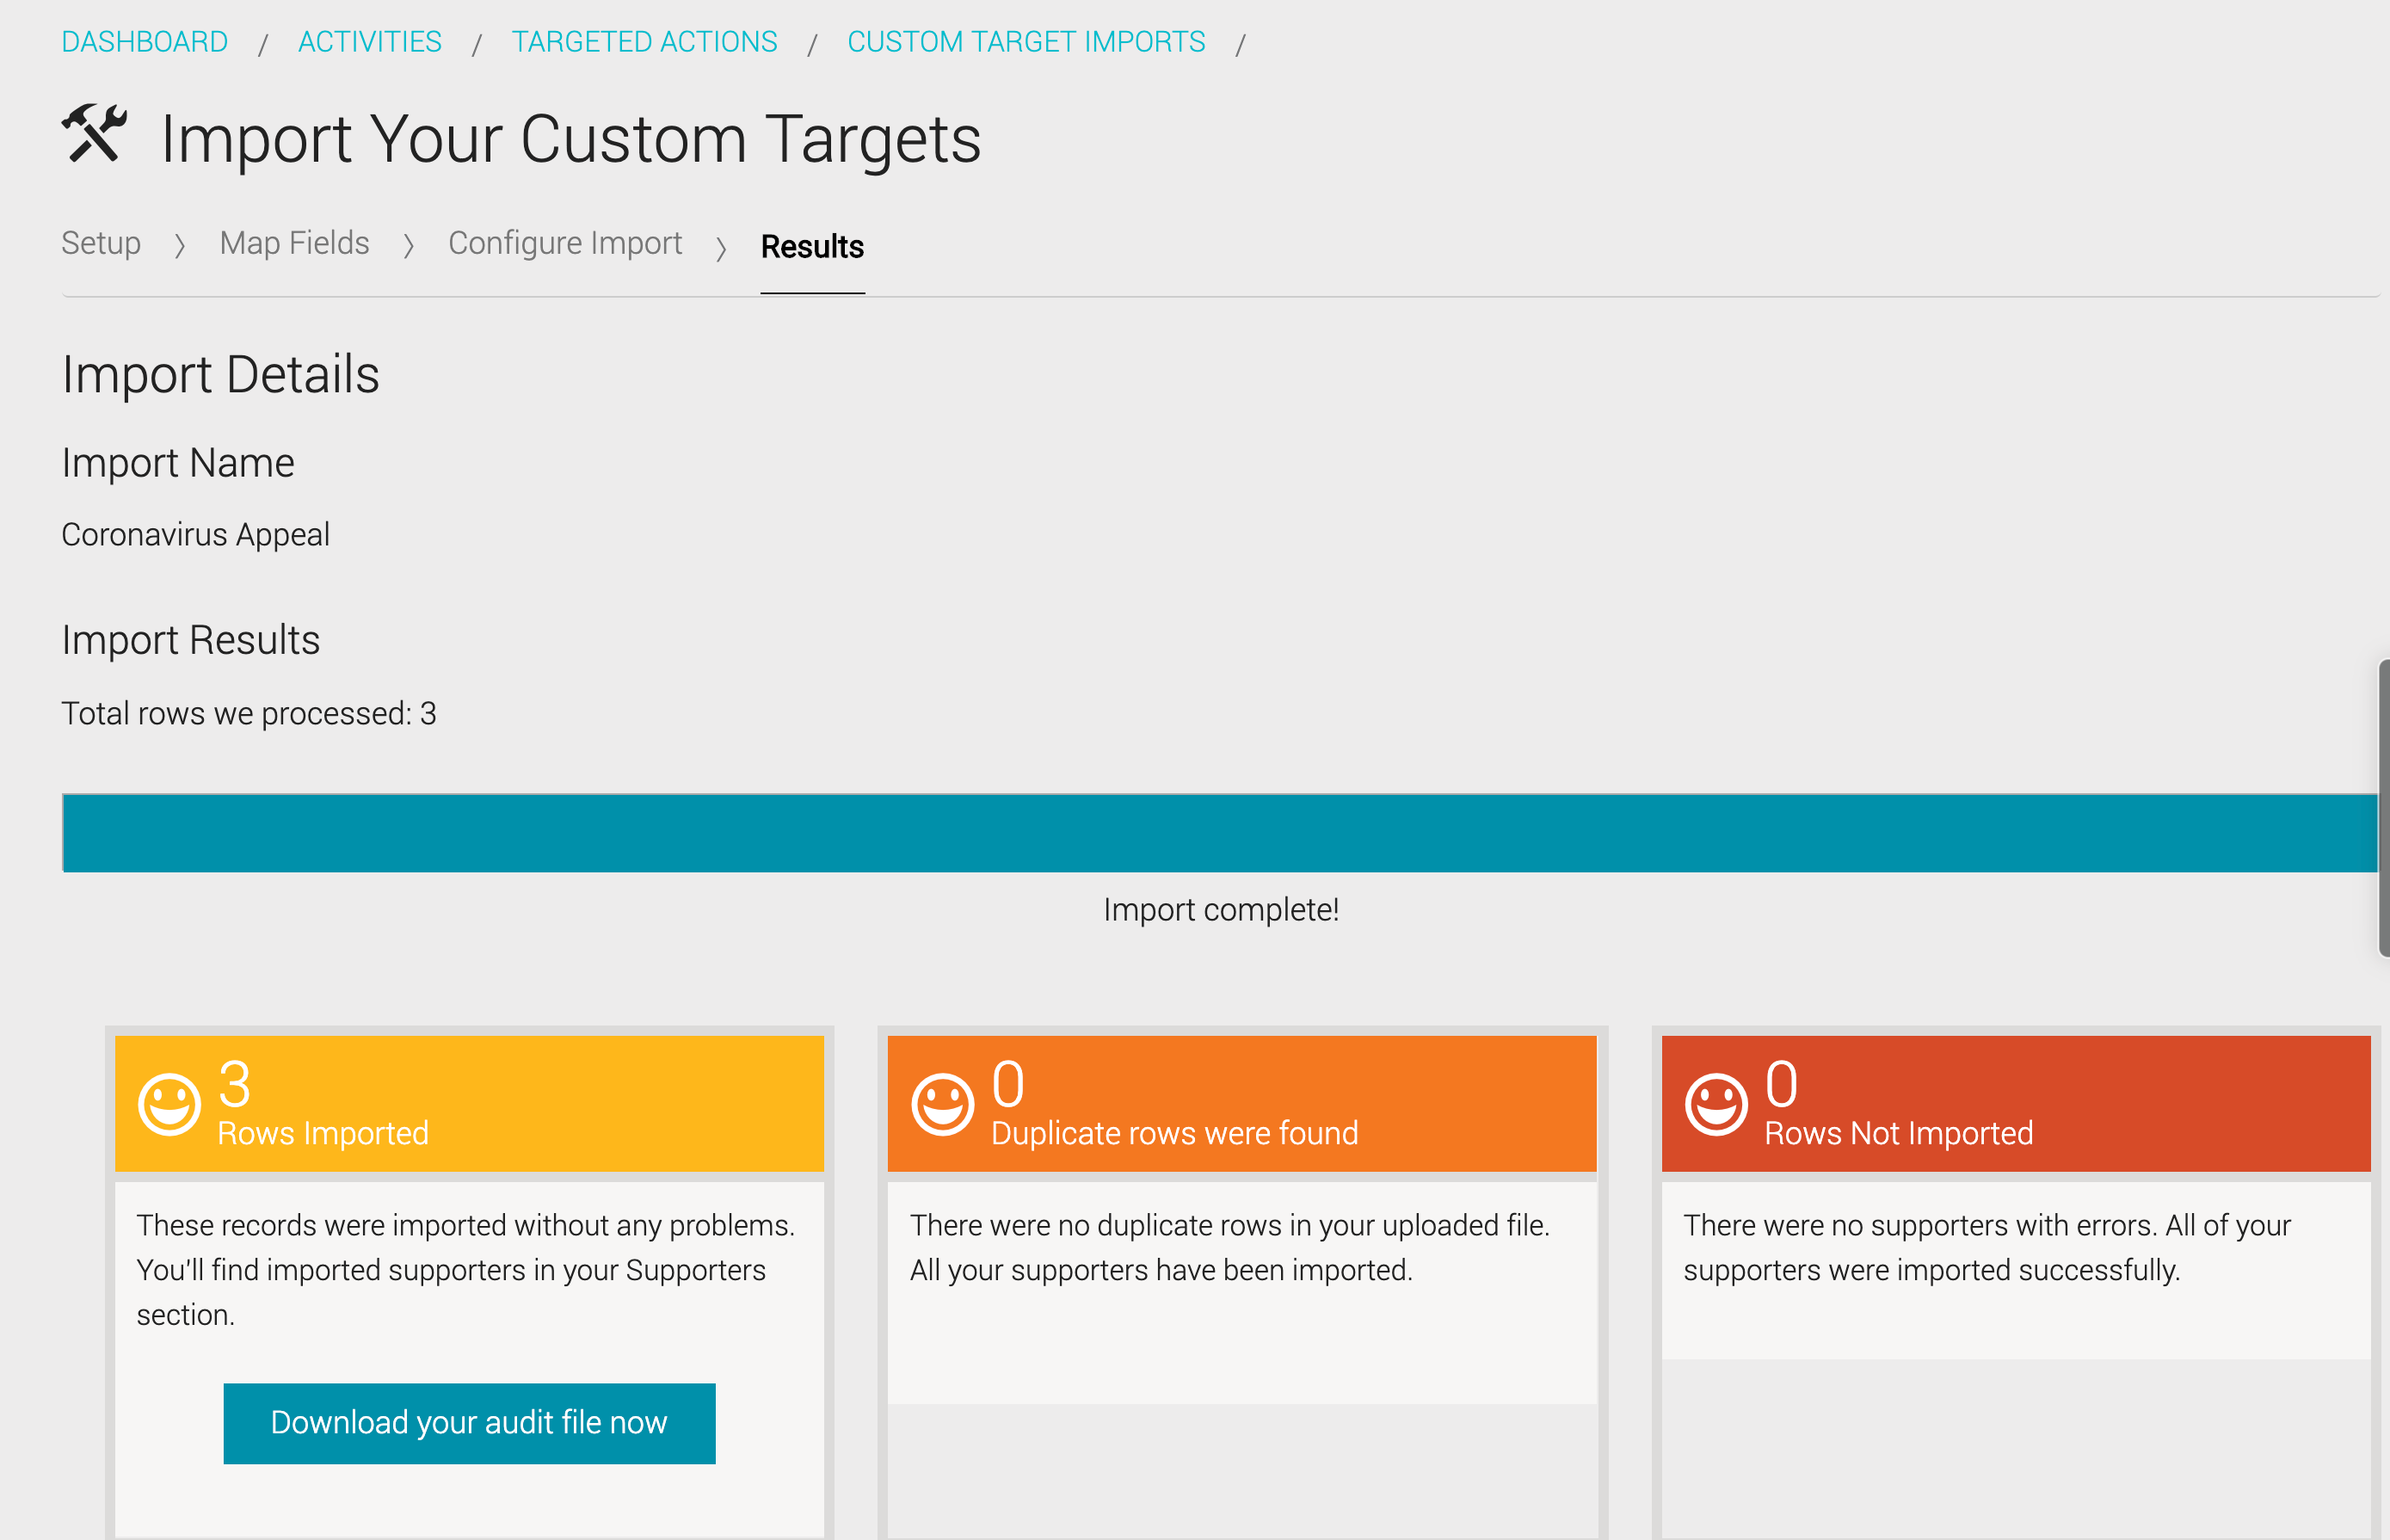
If your file was imported without a problem, the number of rows imported will show up in the yellow box and equal the number of rows processed. You'll be able to click a text link to view the audit file which was imported—handy for record-keeping purposes! You can also see the number of duplicate records (if any) in the orange middle box.
Troubleshooting Import Issues
If you've made it this far and you're seeing a number of rows that weren't imported (the rightmost red box), then there may have been a formatting issue with one of the fields you were trying to match. For example, you're were trying to get Salsa to accept text rows into numeric-only fields. Download the import error file and the audit file; use the information provided to correct your format errors, and try the import again. An audit file will contain a record for every supporter which you attempted to import (whether it failed or not).
If you get an error message that starts with the import file contained at least one row that did not have the same number of columns as the column header row, this indicates a problem with your file. Tabs characterize the beginning and end of every "cell" of data. Extraneous tabs and special characters, such as invisible hard returns, also cause this issue. If someone put a paragraph break in an address in your source data, and you didn't notice, the system would reject that imported row.