Enter all the names and addresses for labels manually, or edit label content after you have run a query. To enter your label information manually, follow the steps below.
NOTE: Any modifications made to the information will not be stored permanently in your database. If you wish to make permanent modifications, open the constituent record and make the appropriate edits. For a new set of manual labels...
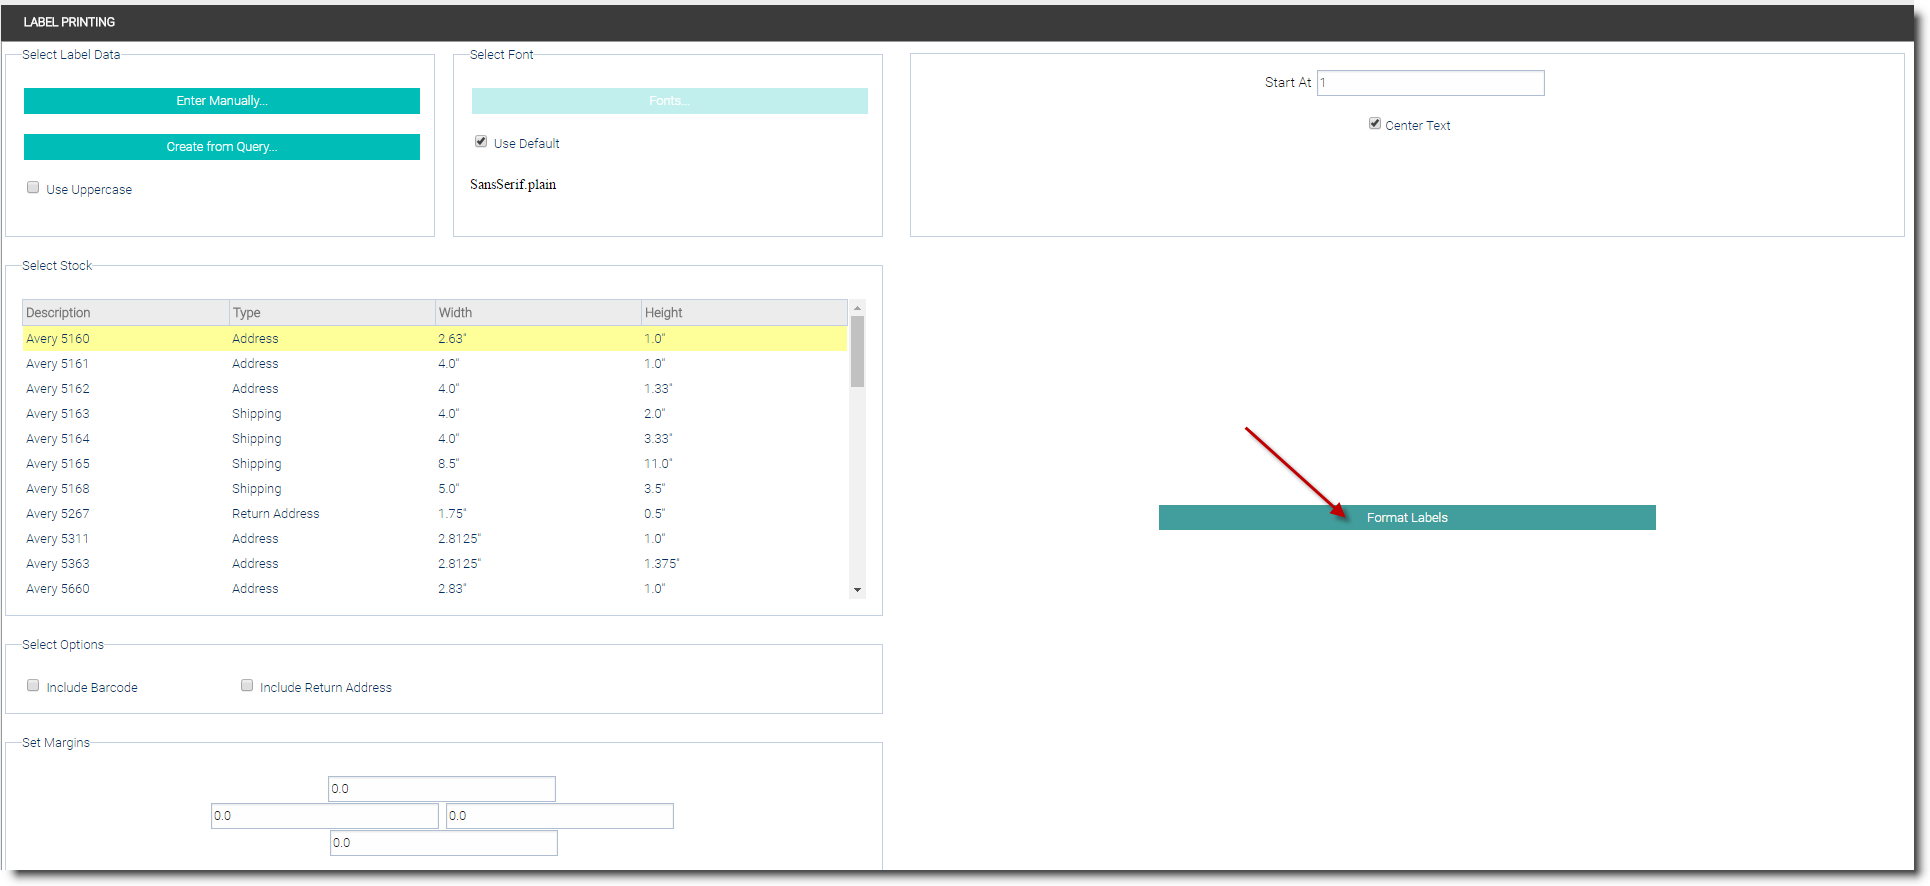
- From the main menu select Manage > Documents > Print Labels. The Label Printing screen opens.
- Click the Enter Manually button at the top left of the screen.
- Select the Number of Copies field and type the Number of Copies you wish to generate.
- Type the name of the person for whom you wish to generate a mailing label, exactly as you want it to appear on the label. Type the Street Address, City, State and ZIP code of this person. Press Enter.
- Press Enter again to insert a blank line between labels. NOTE: A blank line indicates to Salsa CRM that you wish to start a new label. If you wish to print nametags simply press Enter twice after entering a name.
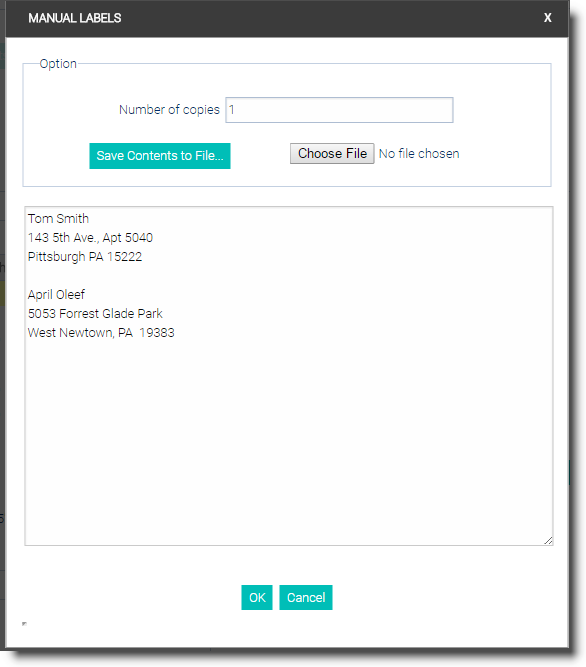
- Follow steps 2 and 3 for each person for whom you wish to generate a mailing label. Select OK. NOTE: If you later find that you need to modify one of the labels, you can select Enter Manually again and modify the specific label. However, Salsa CRM does NOT permanently store the information entered manually, therefore once you leave the Label Printing screen all information entered manually will be deleted.
- If you would like your labels to print in all capital letters check the Use Uppercase checkbox.
- The default font, SansSerif, is selected. De-select the Use Default checkbox if you wish to change the font and the Select Font screen will be displayed.
- Select the font Name, Size, Style, and Color. Select OK.
- Select the label Stock that you will be using. NOTE: Salsa CRM supports most commercially available labels. If your labels are not Avery brand labels, check the instructions on the label packaging for the comparable Avery label number.
- If you wish to print USPS POSTNET barcodes on your labels check the Include Barcode checkbox. NOTE: POSTNET barcodes have not undergone certification by the USPS.
- If you are printing envelopes, check the Include Return Address checkbox. Salsa CRM will prompt you to enter the return address. Type your Organization’s Name and Address as you would like it to appear on the envelope. Press OK.
- If you want to start the label printing on a label other than the first label on the sheet, edit the number in the Start At textbox. The preview will reflect the change.
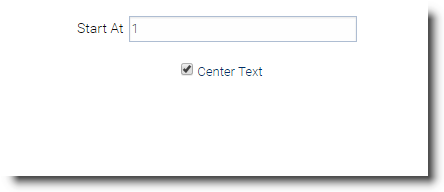
- If you want to center the text on the labels, check the Center Text checkbox.
- On the right side of your screen, click Format Labels button for a preview of what your labels will look like when printed.
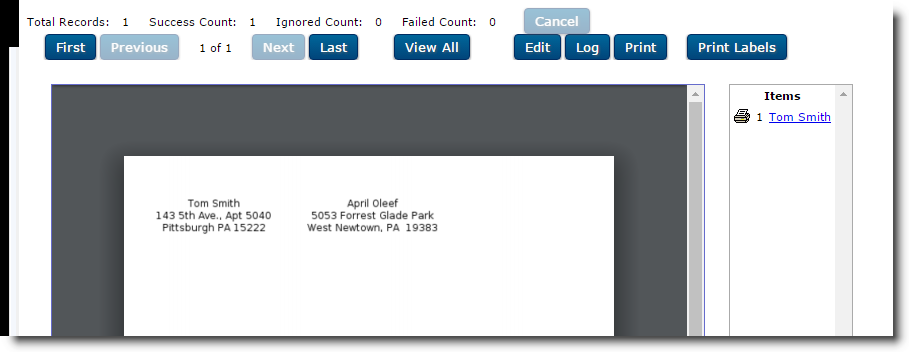
- The Print Preview screen will open in a new browser tab. From here you can use the zoom in/out feature to view the labels. If there are more than one page of labels, the navigation buttons for First, Previous, Next and Last will be active.
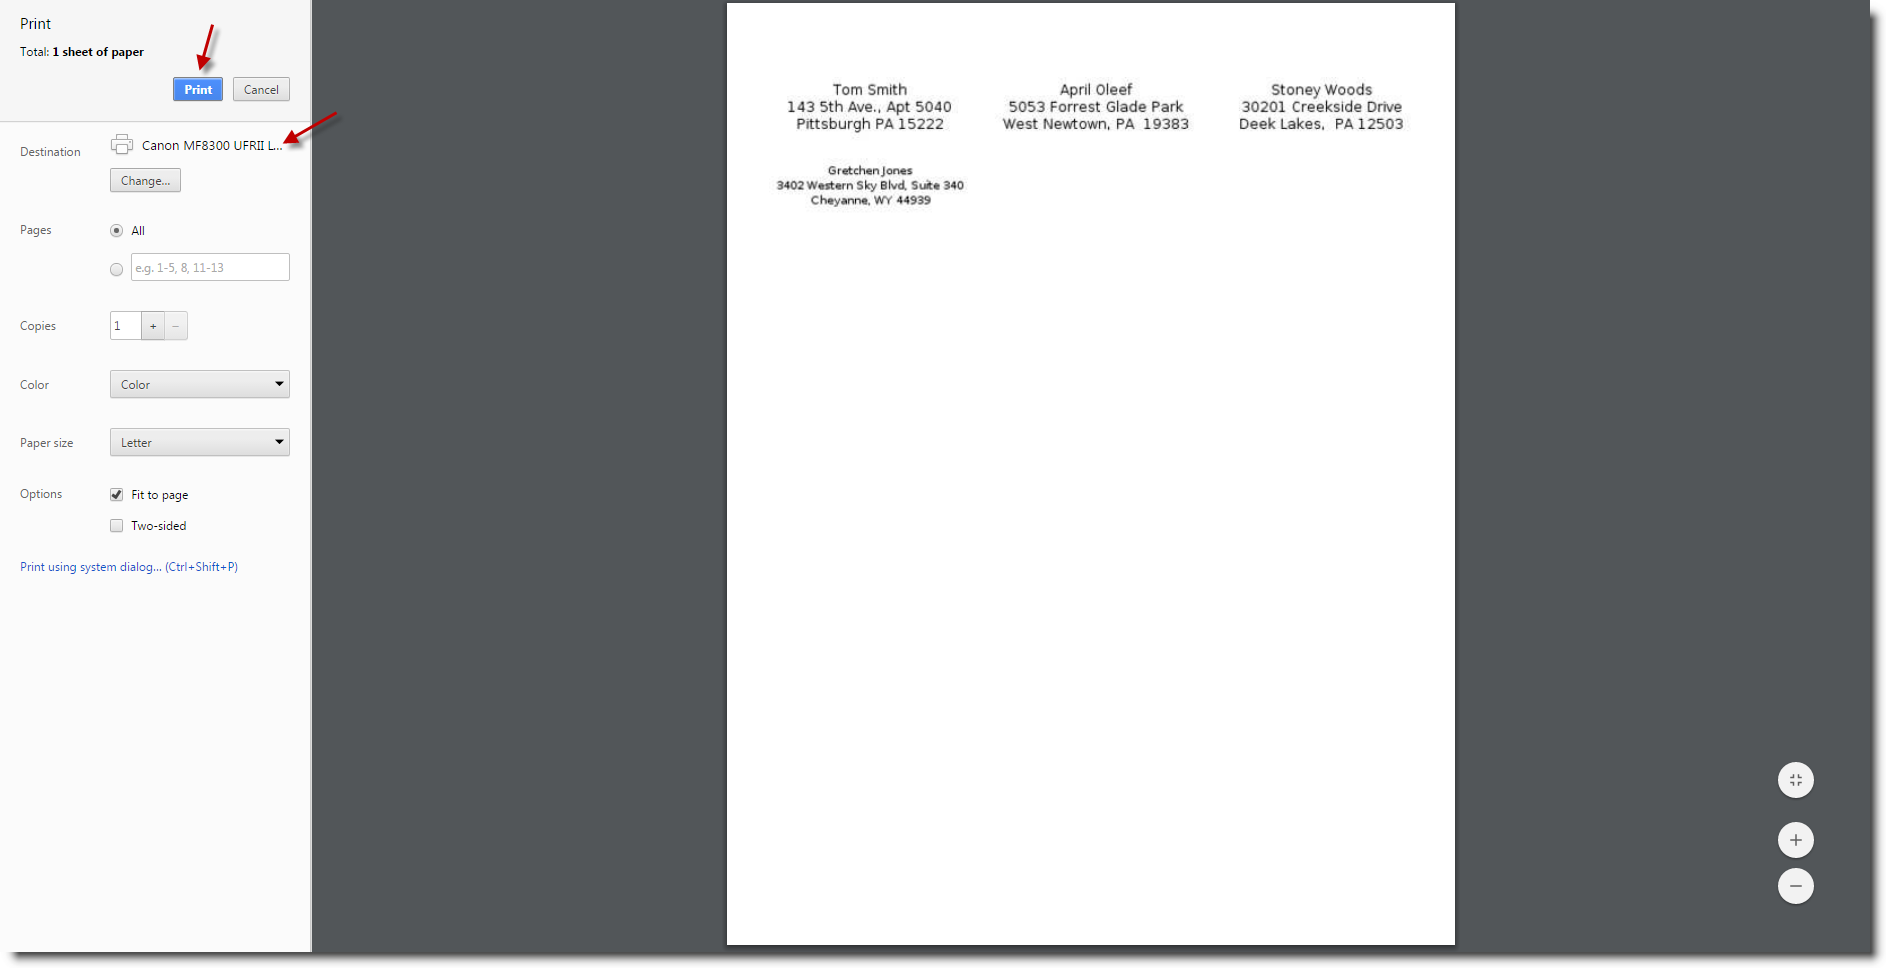
- The last step is to click the Print Labels button. Your computer's print screen will display. Select the printer (if not already shown), and click the Print button. The preview appears to the right. Notice in the preview that the label for Gretchen Jones is a small font size that the other labels. This is a feature of Salsa CRM to ensure that the recipient information fits within the label size selected.