Salsa CRM enables you to add images into the database by selecting existing images from a drive on your computer or network. Salsa CRM’s Word Processor now includes support for JPG, GIF, PNG, and BMP image files.
- From the main menu select Manage.
- Highlight Documents and then Scan Images.
- The Image Scanning window opens.

- Choose the Browse button to locate the image file on your computer or network drive.
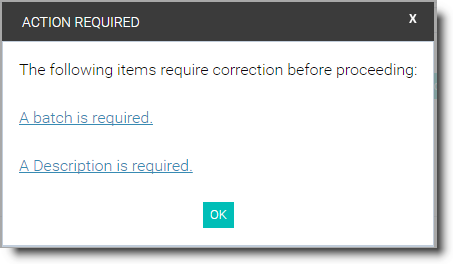
Note: Using images as black and white or greyscale saves space in your database as well as speeds up retrieval. Color files are larger and therefore take more space and more time to open. - Type a Description. Note: If you click SAVE before entering a Description and associate a Batch, an error message displays.

- Enter the Received Date.
- Select the Batch button to associate the document with a Batch. All documents must be assigned to a Batch. The Batch Search dialog box opens. To find the desired Batch, follow the instructions in Searching for an Existing Batch in the Donations section of this documentation.

- Select Save, if this is the only document you have to add. If you have additional documents to add, select Save and New. If this is a document that you wish to save with another document such as a note with a check, select Save With. A pop-up box will be displayed asking for the document with which you would like to save this document.