
A Custom Field is a customer-defined field with customer-defined values. The Constituent, Donation, Cultivation, and Membership screens support Custom Fields. Common Custom Fields share common constituent custom fields between Salsa CRM and Engage. My Salsa CRM custom fields have their own page.
NOTE: all custom field labels are limited to 64 characters.
| Custom Field Type | Character Limit | Field Quantity Limit |
| Common | 256 | 200 |
| Constituent | 150 | 7 |
| Cultivation | 150 | 12 |
| Donation | 150 | 6 |
| Membership | 150 | 25 |
| My Salsa CRM | 150 | 30 |
Access the Custom Fields Menu
- From the main menu, select Manage and then Configuration.
- The Configuration window displays. Select Custom Fields from the Configuration Explorer menu on the left.
- On the top of the screen, six tabs will display, Constituents, Donations, My Salsa CRM, Common, Cultivation, Membership.
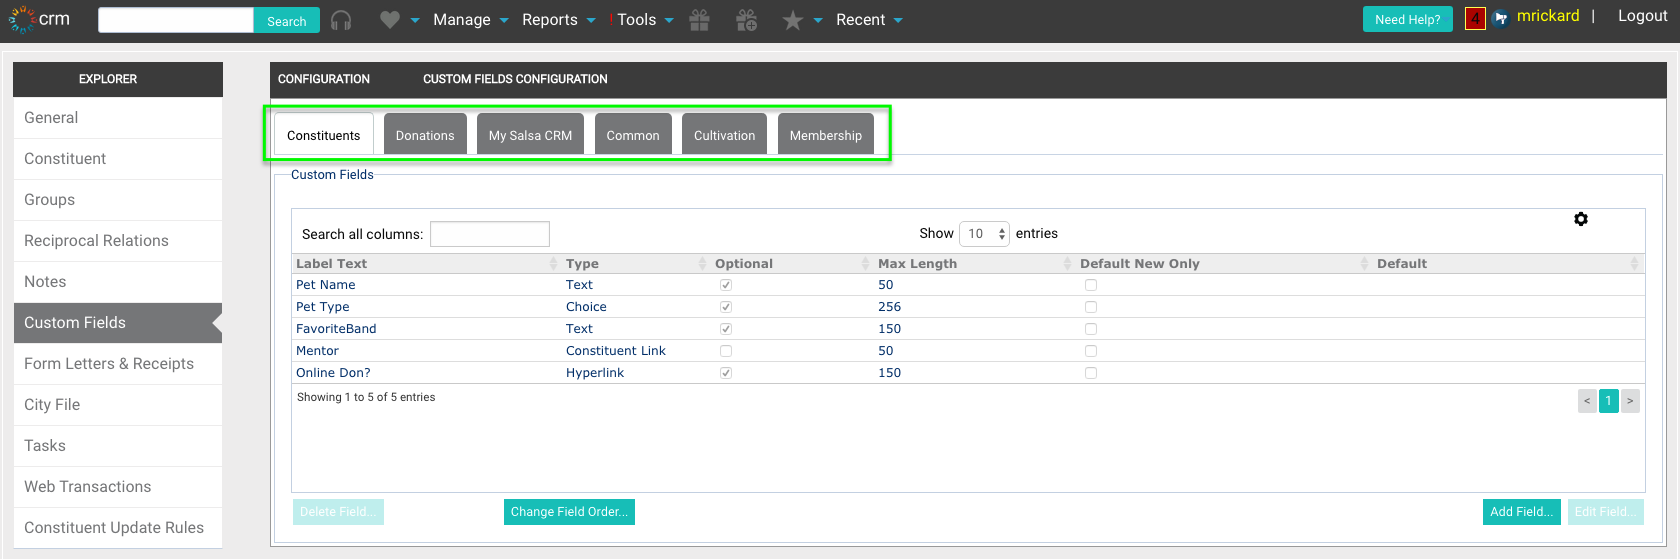
- Select the tab for which you would like to add or edit custom fields.
Add a Custom Field
- To add a new Custom Field, click the Add Field button.
- Specify whether the custom field should display on Individual or Organization Constituent Type screens, or both, by checking the appropriate boxes.
- Type the Label text for the Custom Field. This name will display as the field name, so make it descriptive that users will understand the data to be entered. Press the Tab
- Select the Type of Custom Field you wish to add. The choices and a brief description of each:
Custom Field Type Description Text Any free-form text limited to 256 characters. Number Any positive decimal number, allowing up to two characters to the right of the decimal. including zero. Currency Any positive decimal number, allowing up to two characters to the right of the decimal. including zero. Date Any valid Month, Day, and Year entered either in MM/DD/YY or MM/DD/YYYY format. Checkbox A standard checkbox with a check indicating Yes or True and blank indicating No or False. Choice Define your own pick list. Each item has a maximum of 15 characters, with an unlimited number of items. Hyperlink Stores a website link as a Hyperlink. - If the Custom Field’s information is Optional, click the Optional checkbox to select.
- (Common Custom Fields only) If the Common Custom Field is intended to display on the Constituent Dashboard, click the Display on Constituent Record Dashboard field to select.
- Type the Minimum Length and Maximum Length of the field for Text Fields (up to 256 characters).
- The Apply Default only to New Records option indicates to Salsa CRM, when adding a new constituent or donation record, this default will apply only to new records.
Caution: If the custom field is blank on any constituent record, you set a default value on a custom field, and you do not have the Apply Default only to New Records checkbox selected, the default value that you enter will automatically populate all of the blank custom fields. - Type the Default Value selection, which should be the option that your users will be selected most often. A default value is not required and the field may be blank. If you have selected hyperlink, click on the small “chain link” button. A pop-up window appears allowing you to enter the hyperlink text.
- If Choice was the type selected, select the Add button, enter the desired choice, and then select OK. Repeat this step until all of the choices have been added.
NOTE: The Choice list must include the default item. - Click Save. Your Custom Fields have been saved to the database and will now appear on the appropriate screen. You may also change the field order by selecting the Change Field Order When selected, a pop-up window displays. Highlight the desired field, and use the arrow buttons on the right of the screen to move that field up or down.
NOTE: The Change Field Order button becomes available only when two or more custom fields have been defined.
NOTE: The maximum number of custom fields for the main constituent screen is seven. This total is shared between Individual and Organization records. For example, you can have four custom fields on Individual records and three on Organization records or five custom fields on Organization records and two on Individual records, etc. The maximum number of custom fields for the donation screen is six. The maximum number of custom fields for My Salsa CRM is 30.
Edit a Custom Field
- To edit an existing Custom Field, click to select the field, and then click Edit Field.
- In the Edit Custom Field screen, edit the content, and then click Save.
- A WARNING displays advising the user to ensure that ALL users have logged out of Salsa CRM before the changes are applied or damage to the organization’s database may occur. Click OK to save or Cancel to disregard edit.
Delete a Custom Field
You can delete custom fields only in Salsa CRM Constituent, Donation, My Salsa CRM, Membership, and Cultivation screens.
- Click the field that you want to delete. When selected, the field will be highlighted in yellow, and the Delete Field... button will become active.
- Click the Delete Field... button, and then follow the on-screen prompts. The field will be deleted from all Salsa CRM constituents to which it has been assigned. In addition, you must reset and save any Advanced Query definition that was using the custom field.
Archive a Custom Field on the Common Tab
Archiving functionality is available on only the Common tab. To archive an active Custom Field...
- Click to select the field. When selected, the field will be highlighted in yellow, and the Archive Field... button will become active.
- Click the Archive Field... button, and then follow the on-screen prompts. After the field is archived, it will still appear in the Custom Tab Custom Field table if you have the Display archived fields checkbox checked, but it will be grayed out. If you have archived custom fields but don't see any grayed-out fields, ensure that the Display archived fields checkbox, which appears at the bottom of the Custom Field table, is checked.
Restore an Archived Custom Field on the Common Tab
Archiving functionality is available on only the Common tab. If you have the Display archived fields checkbox checked, archived fields will appear in the Custom Tab Custom Field table, but they will be grayed out.
- To restore an archived Custom Field, click to select the field. When selected, the field will be highlighted in yellow, and the Restore Field... button will become active.
- Click the Archive Field... button, and then follow the on-screen prompts.