
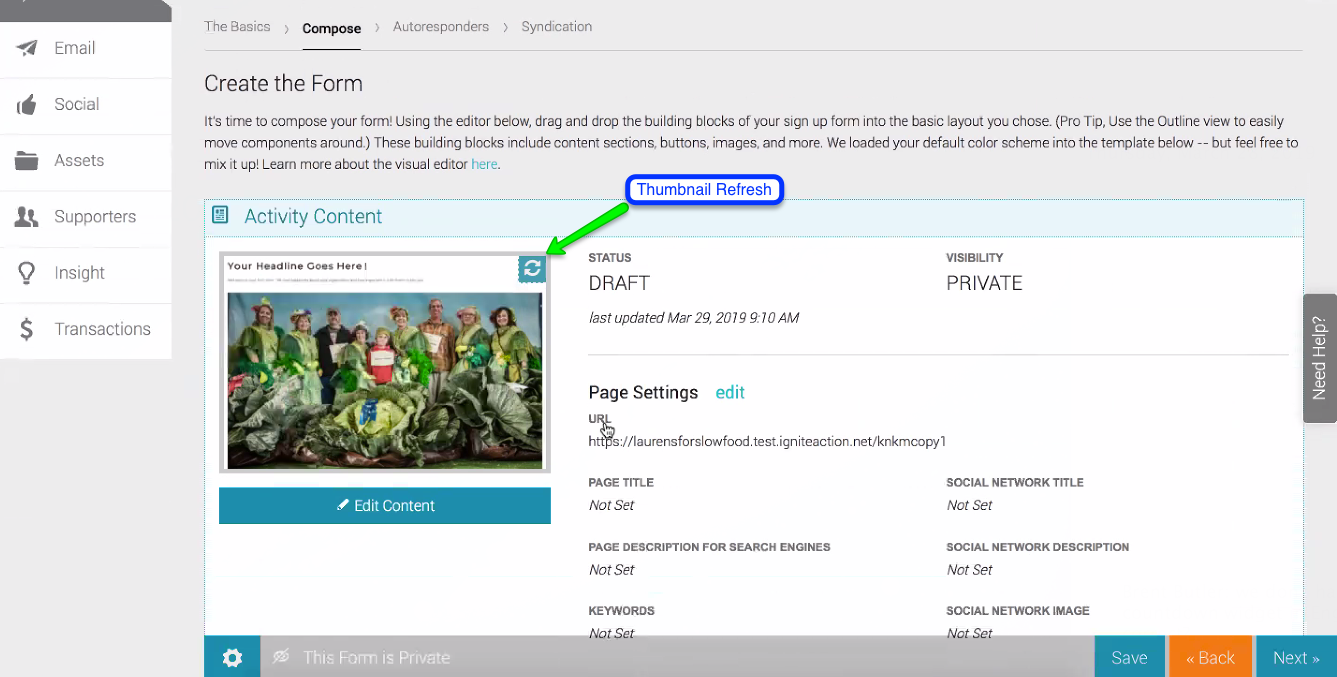
This is the third step of the process of the new Activity or Form creation. You will add and format content on the selection you made on the first step, manage the activity's page settings, consider what type of confirmation the supporter receives, configure a payment gateway, and add any third-party tracking to your form. Each form or message compose page will contain similar information about the form or message you're viewing.
Page Preview Image
Salsa Engage grabs a screen capture preview of your page and places it in the Activity Content section of your Compose tab. This image also links to a form preview, generating in a new browser tab by clicking on the image. This image can be refreshed by selecting the circular arrow button in the top right corner of the page preview.
Edit Page Content
Add and edit form details using instructions found in the Visual Editor for Activities and Messages section.
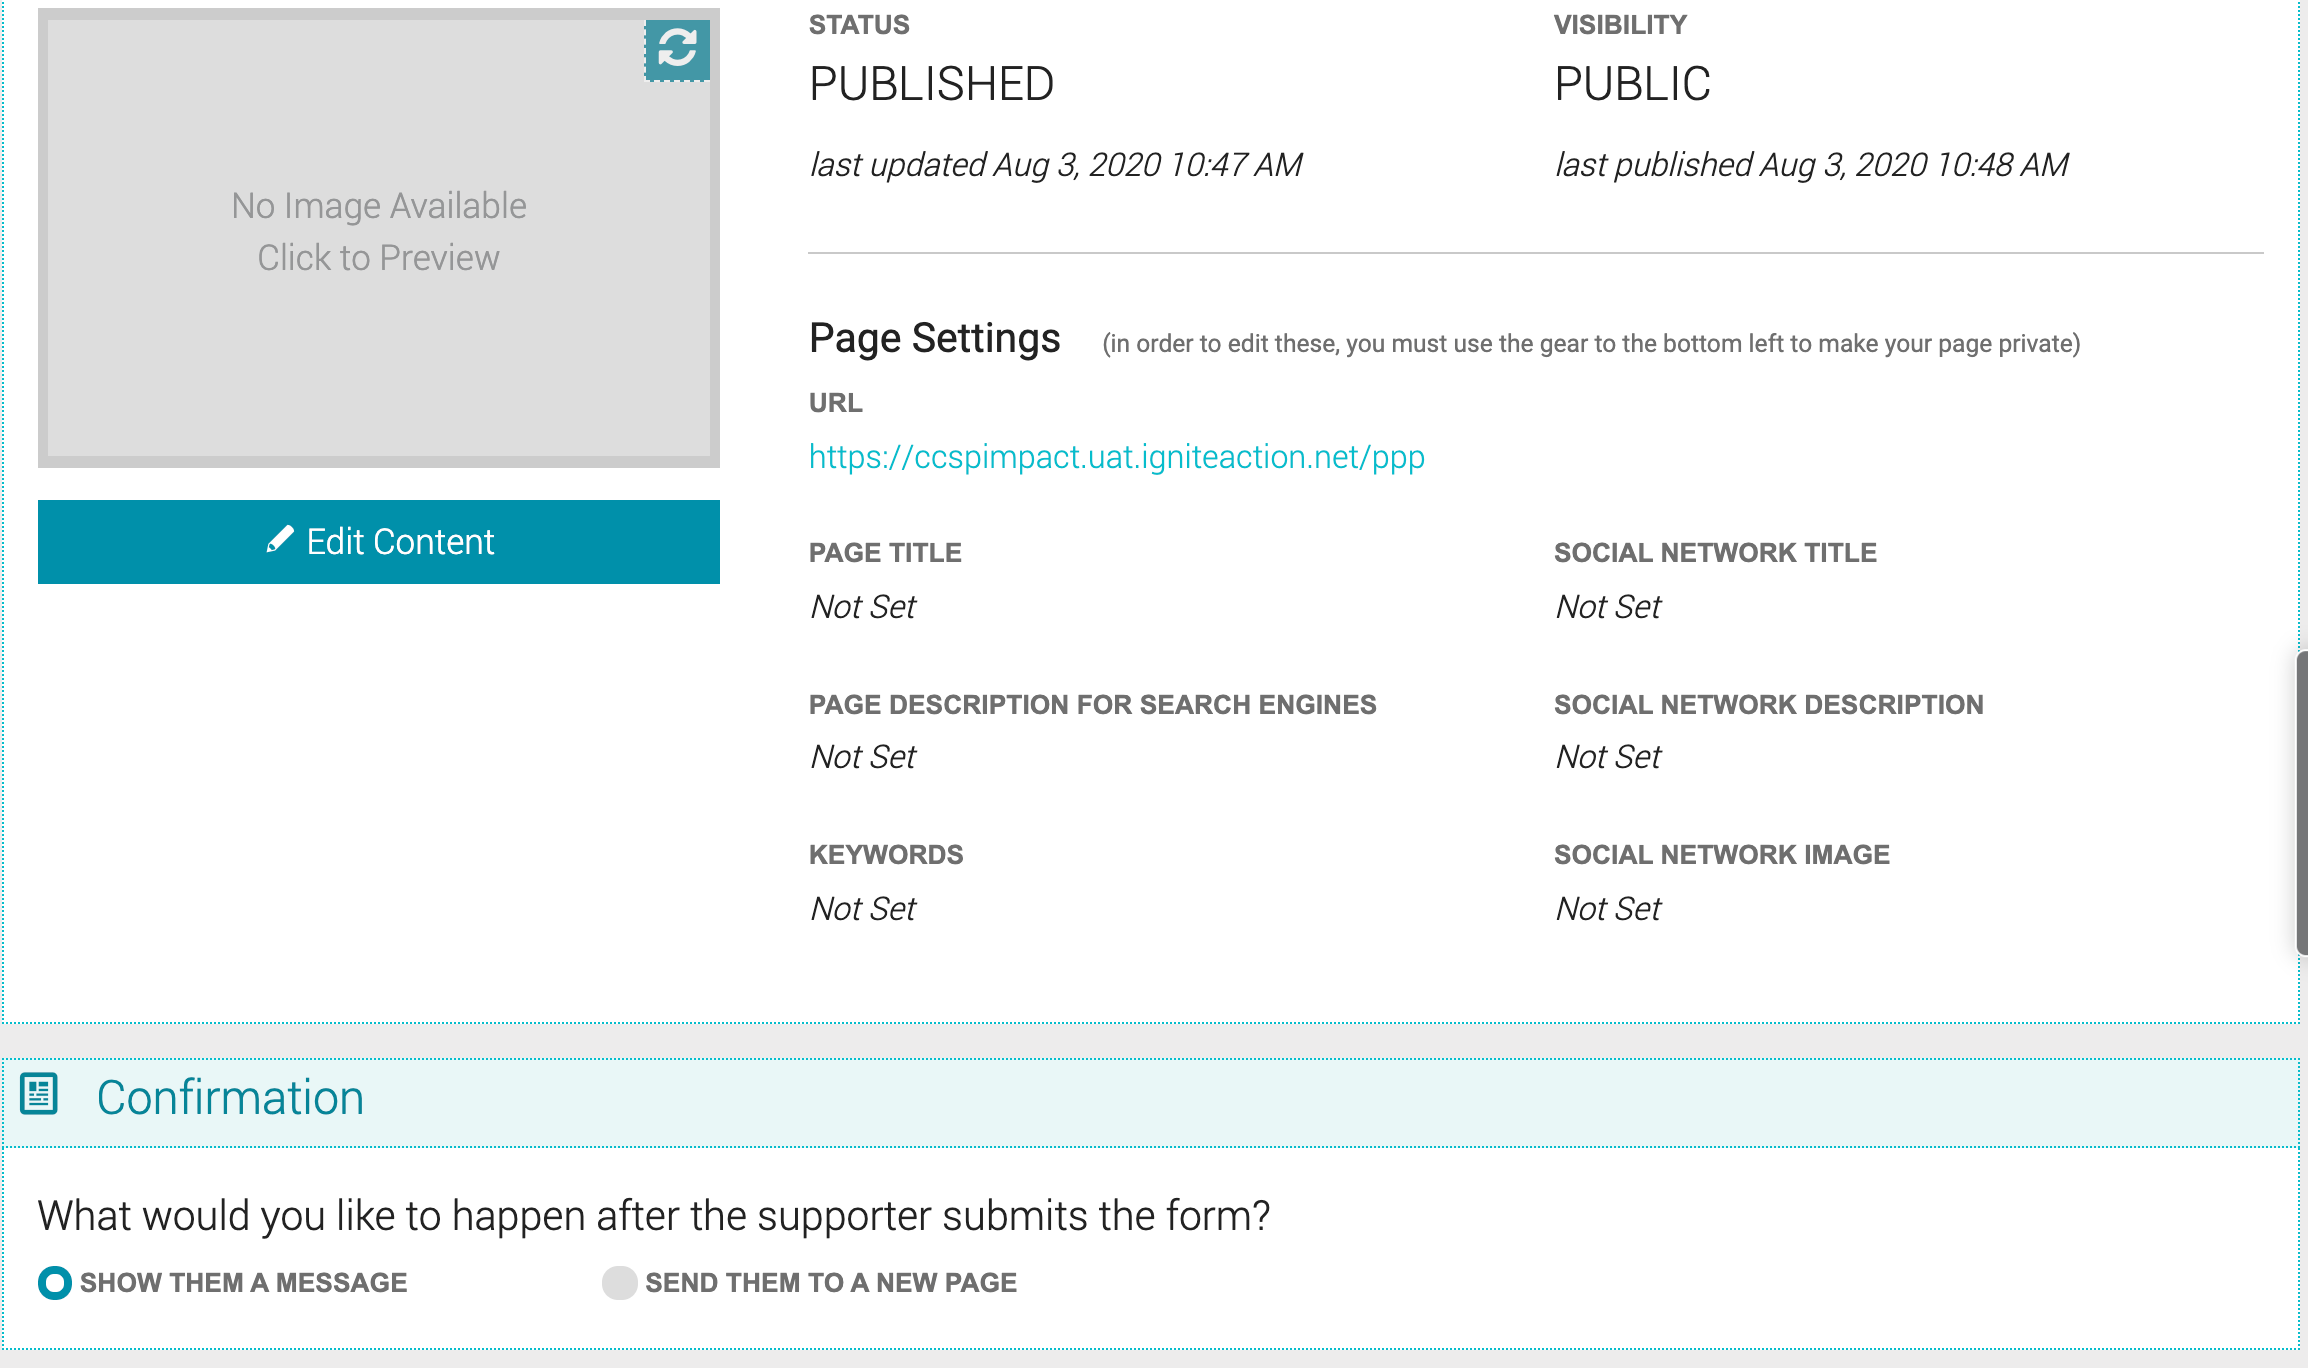
Page Status
The Page Status reports whether the page is currently in draft mode (with unpublished changes) or published mode (with no unpublished changes).
Page Visibility
The Page Visibility field reports whether the activity is published or in an unpublished 'private' mode.
Page Settings
The activity forms you create live on dedicated web pages. Therefore, it's important that each dedicated page has 'meta tags' which help tell search engines what a web page is about. Complete these fields to increase the chances that your page shows up higher in the list of relevant search results.
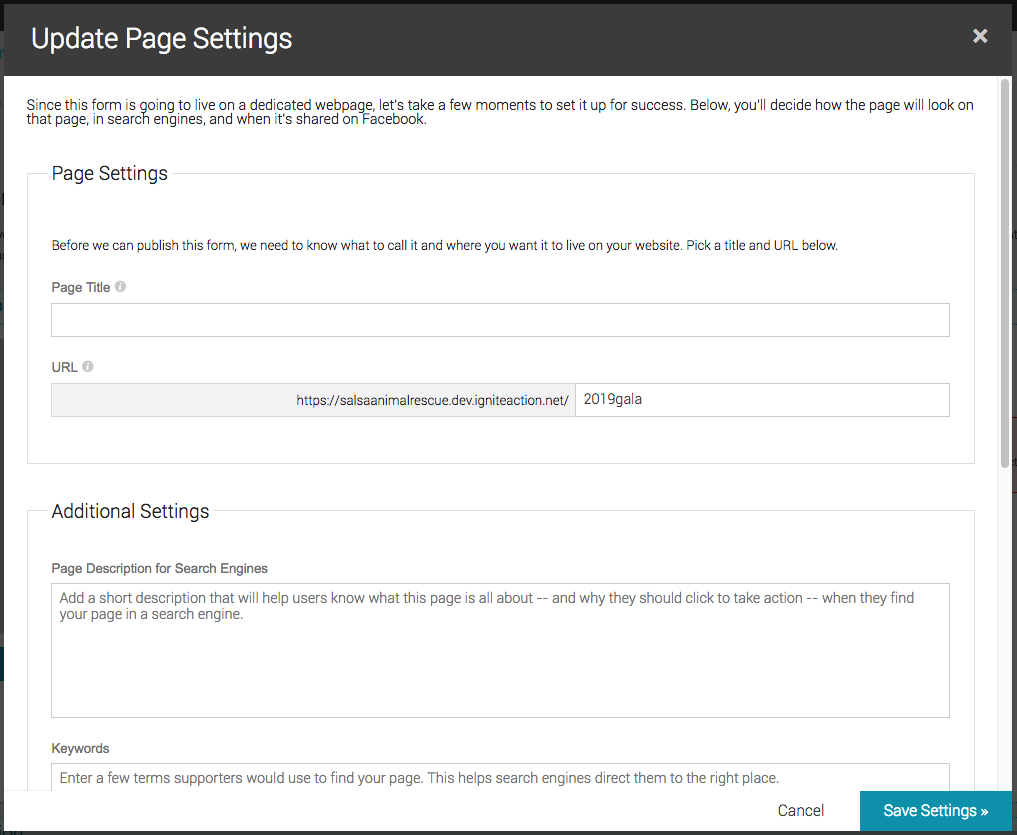
Page URL
This is your activity or email web address. Having a coherent URL that relates to the rest of your site is important for search rankings. URLs are case-sensitive, so try to always use lower case, so as not to confuse visitors and search engines. We will fill out the URL at first, based on what you name your page or if you copy a previous page, but you can always change it here.
Page Title
Search engine results use page titles as the headline for a given result and are important for usability, SEO, and social sharing. Page titles should be very concise descriptors of a page's content.
Page Description for Search Engines
Page descriptions can influence click-through rates of search engine results. Keep the summary of your page accurate and short: 160 characters or less.
Keywords
Keywords are the words and phrases that people type into search engines in order to find what they're searching for. Separate your keywords with commas.
Social Network Title
Enter the title Social Network should display when this page is shared.
Social Network Description
Add a short description that will be included in the post when this page is shared.
Confirmation Screen Options
Control how you display a follow-up page as confirmation of the supporter's form submission. You can craft a "Thank you" message screen within Engage's visual editor (Show Them A Message) or choose to redirect to an external URL (Send Them to a New Page).
If you choose Show Them A Message, the Confirmation message that you edited in the Visual Editor will play. If you choose Send Them to a New Page, the Confirmation page will not play, and your supporter will instead be directed to the URL that you entered.
It's a good idea to include a Social Share element when you Show Them a Message that allows the supporter to publish your activity to social channels.

One reason for directing supporters to an external URL is so that your web developer can pass donation information to Google Analytics for enhanced reporting with their eCommerce analytics.
NOTE: Unfortunately, Salsa Support is unable to provide support or training on developing your external page to correctly pass data to Google Analytics.
To add an external URL reference for your confirmation page...
- In the Confirmation section, "What would you like to happen after the supporter submits the form?" click the radio button next to Send Them to a New Page.
- Enter the URL in the Redirection URL field.
- If you want to include supporter name, address, and donation data to your form, click the Append URL with form field parameters and data slider to turn it ON. Further options become available.
- Select a Redirection Method that your web developers prefer to receive the data, using the GET or POST methods. Both GET and POST methods are used to transfer data in the HTTP protocol. GET appends the requested parameters to the destination URL string. POST puts the parameters in the message body (which is a more secure way of transferring data).
- In the Available Parameters section, check which fields will be passed to the external URL:
- Payment Amount
- Make this donation recurring
- Activity Code
- Increase my donation amount to cover fees
- First Name
- Middle Name
- Last Name
- Address, line 1
- Address, line 2
- City
- State
- Zip Code
- Country
- Gender
- Email Address
- Phone
- Cell Phone
- Date of Birth
- Confirmation Checkbox
- Donation Dedication
- Designation
- Preferred Language
- Please notify the following person(s) that a donation has been made
- I'd like to receive updates from this organization
- Donation Dedication Type
- Save your work.
- After you save your changes, you may optionally export a list of the parameter names that will be included on the Redirection URL as a CSV file.
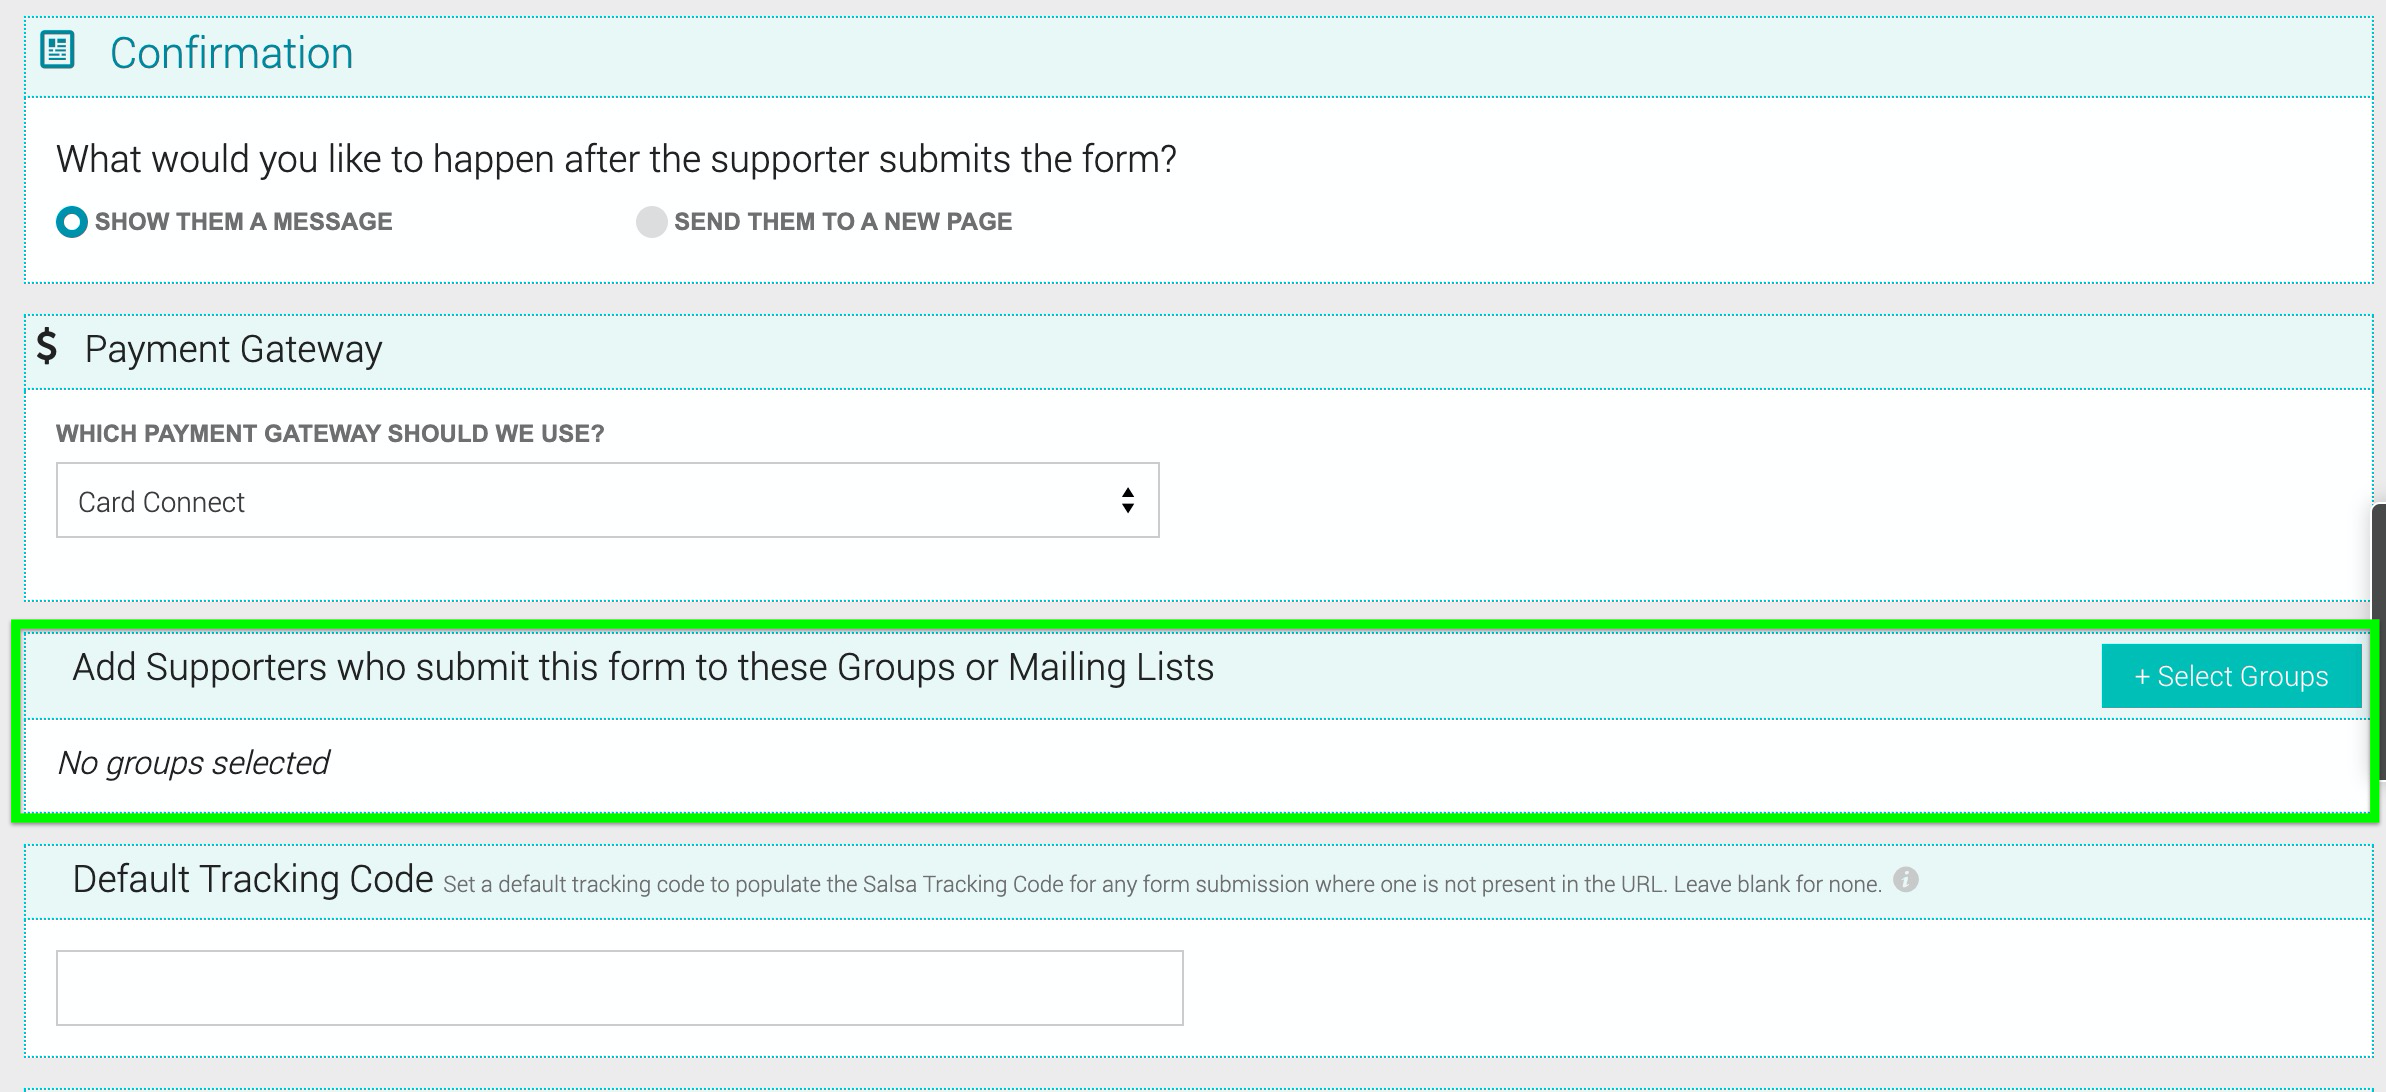
Add Supporters to Groups or Mailing Lists
Supporters who submit a form will be added immediately to a Group or Mailing List of your choosing. This is distinct from the form field on the Activity form to opt-in to specific Groups or Mailing Lists. For example, you could have the option on the form to join the Advocacy mailing list, and then send everyone who fills out the form to a static group called "Advocacy Form 2020". You would then be able to run a Supporter Query to find those in the static group but not in the mailing list.
- Click the +Select Groups button in this section to determine which groups the opted-in supporters will join.
- Select or deselect any static group or mailing list.
- Click Save» to retain any changes.
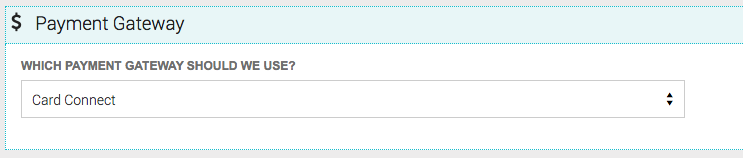
Payment Gateway
You'll need to add a payment gateway to collect and deposit funds from your supporters. Please click here for information about configuring or editing your payment gateway. Once you configure a payment gateway for the first time, this section will disappear, since it is not necessary to select only one payment gateway. However, if you have more than one payment gateway, you will need to select which to use for that form. If you need more than one bank account to receive funds, you will need more than one payment gateway, under only one account.
Default Tracking Code
Set a default tracking code to populate the Salsa Tracking Code for any form submission where one is not present in the URL. Only letters, numbers, and these special characters are allowed:
- _ ? = ] [
Leave this field blank if no tracking code is desired.
![]()
Third-Party Tracking
When you enable third-party tracking, you will be able to use third-party analytics tools such as Google Analytics, Google Ads Global Site Tag, Google Tag Manager, and Facebook Pixel to track the performance of your Salsa Engage forms.
![]()
Please see this article for more information on obtaining third-party tracking scripts from your provider and configuring them in Salsa Engage.
For each Activity form you publish with a third-party tracking script, you'll be able to track a supporter's progress through each page in the form through that third-party tracking app. Each step from page to page in the form is tracked as an event:
-
Sign-up form—Page View -> Step Navigation -> Form Submission
-
Fundraising—Page View -> Step Navigation -> Make Purchase
-
Petitions—Page View -> Step Navigation -> Form Submission
-
Targeted Actions—Page View -> Step Navigation -> Form Submission
-
Regulation Comment—Page View -> Step Navigation -> Form Submission
-
Legislator Lookup—Page View
-
Events—Page View -> Step Navigation -> Initiate Checkout -> Make Purchase
-
Peer-to-Peer—Page View -> Step Navigation -> Initiate Checkout -> Make Purchase

To add a third-party tracking script to your form...
- Scroll down to the bottom of the form's Compose tab.
- In the Third Party Tracking Section, you will see separate rows for each of the tracking script sources: Google and Facebook for example. Select the script you want to associate with your form from the Script column dropdown menu in the appropriate row. If you have more than one script added to your Settings, you will need to select the appropriate one.
- Save your settings at the bottom of the screen.
- Publish your form when completed. Republish your form if you have already published it previously.