With longer Engage emails that contain many separate sections, you may find it helpful to provide an index, which acts like a table of contents. A supporter could click on an index item, and they would immediately scroll to that section of the email.
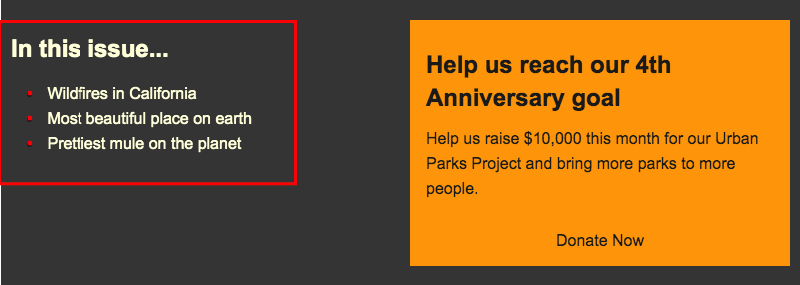
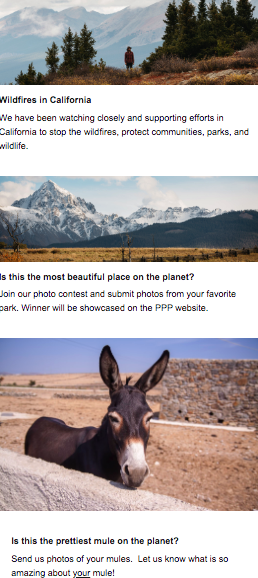
To create an email blast with an index, you need to insert two pieces of custom HTML:
- A code "anchor" marks where each section starts. An anchor tag is called an anchor because web designers use it to anchor a URL to some text on a web page or email. We will use HTML anchor tags to create these elements.
- An index contains a unordered (bulleted) list and hyperlinks to those section markers. When users view the email, they can click the text to activate the link and visit the section the link points to internally on the same page, allowing a quick scroll down, which is what you want to accomplish here.
Section Markers
A section marker code snippet looks like this.
<a name="SECTION_NAME"></a>
NOTE: Section markers will not display in your email. They are only code that acts as an internal bookmark.
Keep in mind when creating section markers...
- SECTION_NAME must be unique.
- SECTION_NAME cannot contain punctuation. Underscores ( _ ) are not punctuation.
- SECTION_NAME should not contain spaces.
Section markers work best in coordination with heading (hn) tags to organize your sections, such as <h1> or <h2> tags.
Typically, you will want to format your SECTION_NAME as numbered sections or as a clear summary of each section. Both examples are listed below.
Numbered Sections Example
<a name="section1"></a>
<h1>Wildfires in California</h1>

<a name="section2"></a>
<h1>Most beautiful place on Earth</h1>

<a name="section3"></a>
<h1>Prettiest mule on the planet</h1>
Summary Section Example
<a name="preview"></a>
<h1>Wildfires in California</h1>

<a name="most_beautiful"></a>
<h1>Most beautiful place on Earth</h1>

<a name="prettiest_mule"></a>
<h1>Prettiest mule on the planet</h1>
It may help you to keep track of section headers in a table in an external file in Wordpad or a similar text editing application.
| Section Marker | Title |
| Section1 | Wildfires in California |
| Section2 | Most beautiful place on Earth |
| Section3 | Prettiest mule on the planet |
Section Links
Section links appear in the index and point to section markers. A section link using an anchor tag <a> looks like this.
<a href="#SECTION_NAME">Description</a>
SECTION_NAME is the same as in the section on section markers that were set up previously. The pound or hash symbol # tells the email program to search inside the email for the section name. It also tells the email program not to search the whole internet. If a supporter clicks on a section link containing "#section1" the email program will look for a section marker name “section1” in the email. However, the email program won’t search the internet for "section1".
Section links are usually part of an unordered (bulleted) list that uses the <ul> tag.
<ul>
  <li><a href="#SECTION_NAME">Description</a></li>
</ul>
Here’s an example of an index that points to the section marks that have numbers.
<h4>In this issue...</h4>
  <ul>
    <li><a href="#section1">Wildfires in California</a></li>
    <li><a href="#section2">Most beautiful place on Earth</a></li>
    <li><a href="#section3">Prettiest mule on the planet</a></li>
  </ul>
Likewise, here’s an example of an index that points to section markers that have description names.
<h4>In this issue...</h4>
<ul>
  <li><a href="#preview">Wildfires in California</a></li>
  <li><a name="#beautiful_place">Most beautiful place on Earth</a></li>
  <li><a name="#pretty_mule">Prettiest mule on the planet</a></li>
</ul>
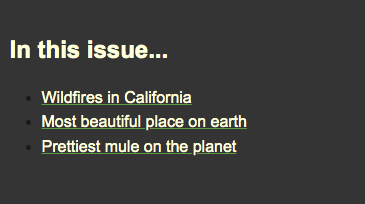
Both of these examples will look like this in an email.
Create the Index
To add your index...
- Add a row to hold the index.

- Add an HTML widget by dragging the HTML widget from the Editor Menu on top of the row.

- Edit the content of the HTML widget.

- Add your index links for each section.
PRO TIP: If you use Wordpad or some similar app to generate your code, then you can copy and paste the code into your HTML element in Engage. When you're done, the result should look something like this:
<h4>In this issue...</h4>
<ul>
  <li><a href="#section1">Wildfires in California</a></li>
  <li><a href="#section2">Most beautiful place on Earth</a></li>
  <li><a href="#section3">Prettiest mule on the planet</a></li>
</ul>
NOTE: You might find it helpful to copy the code block above, and paste it into Notepad or another text editing tool to use as a starting point.
Create The Content Sections
The next step will be to add sections to the email blast. A section will contain...
- A section marker.
- A section title.
- The content for the section.
Here are some steps that you can use for each section:
- Add a row to hold the section contents.

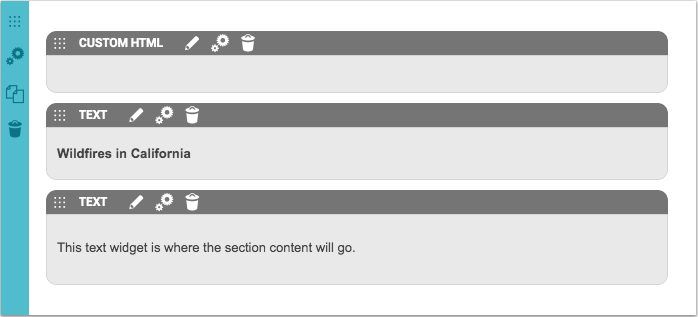
- Add an custom HTML widget at the top of the section content by dragging the HTML widget from the Editor Menu on top of the row.

- Edit the content of the HTML widget.

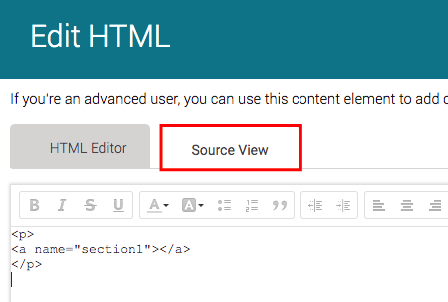
- Click the Source View tab to enter in the Section Marker code.
- Add a new text widget just below the custom HTML widget in the same row. This will hold the section title, like “Wildfires in California” or “Most beautiful place on Earth”.

- Add a text widget or some column widgets just below the section title for the section content.
- Type/paste the section content into the text widget.
- Make sure that the custom HTML widget is right above the text widget. If it's not, then drag it to the right place:
- Turn outline mode ON.

- Click-and-hold the element by the grey dots icon and move them in the right order.
- Turn Outline Mode OFF.

- Turn outline mode ON.
- Remember to repeat these steps for each section in the table that you created.
- Save your work and Preview the blast.
Now that the index is in place, test your email to make sure that clicking on each link takes you to the right section.
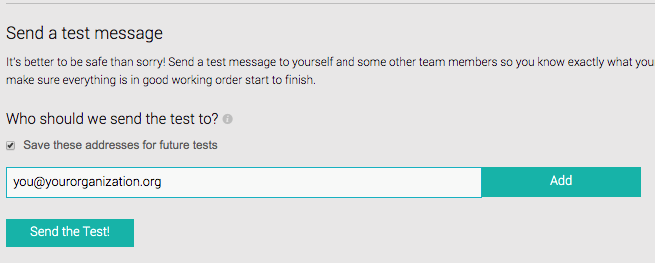
The test message will appear in your inbox. Click on links in the "In this issue..." section. Your email program will scroll to the selected section is at the top of the page.
